A common UI layout on macOS has a sidebar and detail view side by side. The sidebar contains a list of items, where the selected item is displayed on the right and displays details of it. One would expect that creating such a view hierarchy in SwiftUI should be pretty easy to set up. In this post, we’ll take a look at how to create a basic view with sidebar which supports selection.
Building the layout
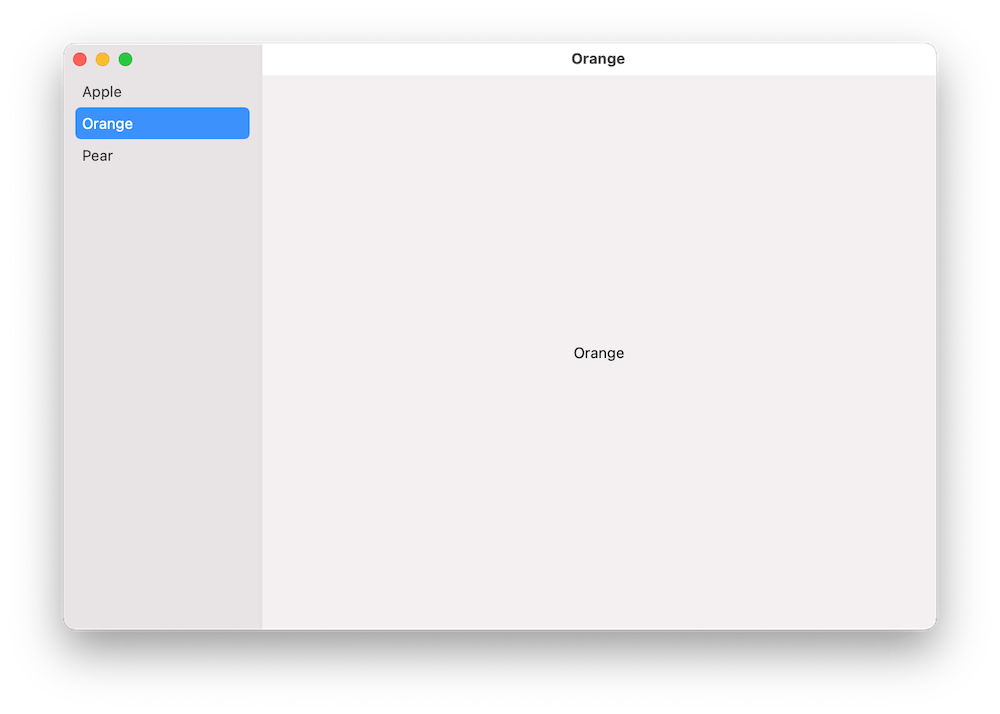
We’ll build a simple sample app which shows a list of fruits in the sidebar and when clicking on any of the fruits, the right pane displays the name of the fruit. Therefore, we’ll need a struct representing a fruit, a view model for storing the list of fruits, and a property for storing the selected fruit in the sidebar.
We can create the layout with NavigationView and NavigationLink. Inside the NavigationView we’ll first add a List where each of the item in the list is represented by a NavigationLink. One of the NavigationLink initializers takes a title, tag, and selection binding. Tag is used for identifying items in the list and setting one of the tag values to the selection binding will make the sidebar to select the item programmatically. Also, we’ll need to set the list style to “sidebar” which adds the appropriate styling to it. Finally, we’ll add a Text element, which acts as a placeholder view when there is no selection. And that is all what we need to do to get going with a view with sidebar and detail pane.
Summary
We used NavigationView and NavigationLink to create a common layout for macOS apps, which features a sidebar with list of items and detailed view on the right. With only a bit of code, we were able to set it up.
If this was helpful, please let me know on Mastodon@toomasvahter or Twitter @toomasvahter. Feel free to subscribe to RSS feed. Thank you for reading.

3 replies on “Sidebar layout on macOS in SwiftUI”
[…] Sidebar layout on macOS in SwiftUI (September 13, 2021) […]
LikeLike
[…] Sidebar layout on macOS in SwiftUI (September 13, 2021) […]
LikeLike
[…] Sidebar layout on macOS in SwiftUI (September 13, 2021) […]
LikeLike