Jazzy is an excellent tool for generating API documentation for Swift and Objective-C projects. Let’s take a look how to generate and publish API documentation in GitHub with Jazzy.
Installing Jazzy
Installation: sudo gem install jazzy
Jazzy config file for a Swift package
Configuration options can be passed into Jazzy directly with the command or adding them to the a file, by default it is .jazzy.yaml. We’ll use the default path as then we can run Jazzy without any command line arguments: the configuration is read from the configuration file. For seeing all the available configuration options run jazzy config -h. Just note that the configuration file expects snakecase (build-tool-arguments becomes build_tool_arguments). Let’s take a look on Swift package IndexedDataStore which can be built both for macOS and iOS. It has some additional functions for iOS and therefore it is preferred to build iOS target when running Jazzy. Otherwise API documentation would not contain those public functions meant for iOS. Typically Swift package is built using swift build command. The current state is that there is no easy way for just specifying the target OS to the swift build command. What we can do instead is using xcodebuild command which knows how to build Swift packages as well. We’ll just need to specify the scheme, sdk, and destination arguments. If we now run jazzy command without any arguments, it will read the configuration file, and generate API documentation which includes functions which require UIKit.
GitHub action for publish API documentation
Thankfully there is a GitHub action available for publishing API documentation with Jazzy. We can set up a GitHub action with a name PublishDocumentation and store it in the repository’s .github/workflows folder.
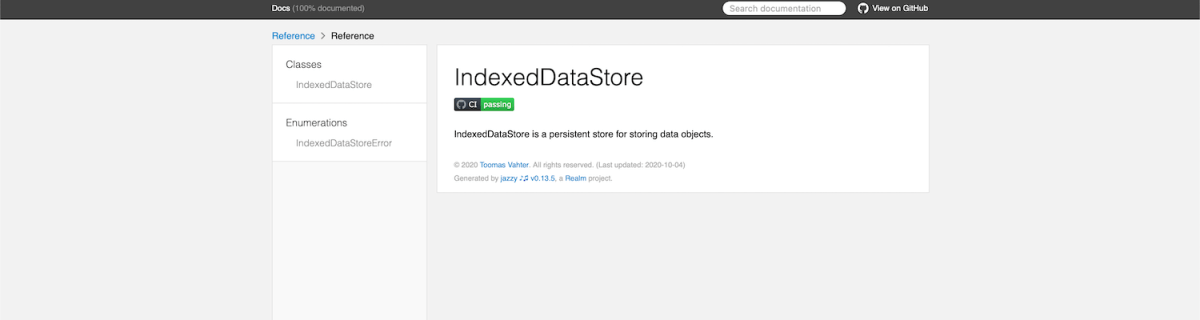
The GitHub action is triggered either manually or when publishing a release. Manual trigger is called workflow_dispatch and when it is set, GitHub webpage will display a “Run workflow” button. This is very handy when testing GitHub actions. Another thing to note is that publish-jazzy-docs requires repository access because it needs to write the documentation files to the gh-pages branch. For giving repository access we’ll need to set up personal access token with repo scope. Secondly, we’ll need to paste the created token to the repository’s secrets. In this example, we have added a secret named ACCESS_TOKEN and the value is the personal access token. Now, if we have committed and pushed the GitHub action then we can open the repository on GitHub.com, navigate to actions, selecting PublishDocumentation, and using Run workspace button for triggering the wokrflow. If everything goes well, then the workspace creates a gh-pages branch which in turn creates a new GitHub page. In this case the URL to the new GitHub page looks like: https://laevandus.github.io/IndexedDataStore/ (link). This is what we wanted to achieve, API documentation publiched on GitHub.
Summary
We set up Jazzy for a Swift package and used it to generate API documentation. Generated API documentation was published to a GitHub page.
If this was helpful, please let me know on Mastodon@toomasvahter or Twitter @toomasvahter. Feel free to subscribe to RSS feed. Thank you for reading.

2 replies on “Publishing API documentation in GitHub with Jazzy”
[…] For IndexedDataStore, it is https://laevandus.github.io/IndexedDataStore/documentation/indexeddatastore/. Note that the target name is in lowercase. The link won’t work since I switched GitHub pages back to the Jazzy documentation, which is auto-generated on merge. […]
LikeLike
[…] + Read More […]
LikeLike