Categories
Swift

Static DocC documentation for Swift packages

Swift 5.6 released with Xcode 13.3 implements evolution proposals extensible built tools (SE-0303) and its extension command plugins (SE-0332). This opens up plugins for Swift packages. Along with that, Apple released DocC command plugin for Swift packages, which supports generating static webpages containing the documentation of the package.

Swift-DocC plugin

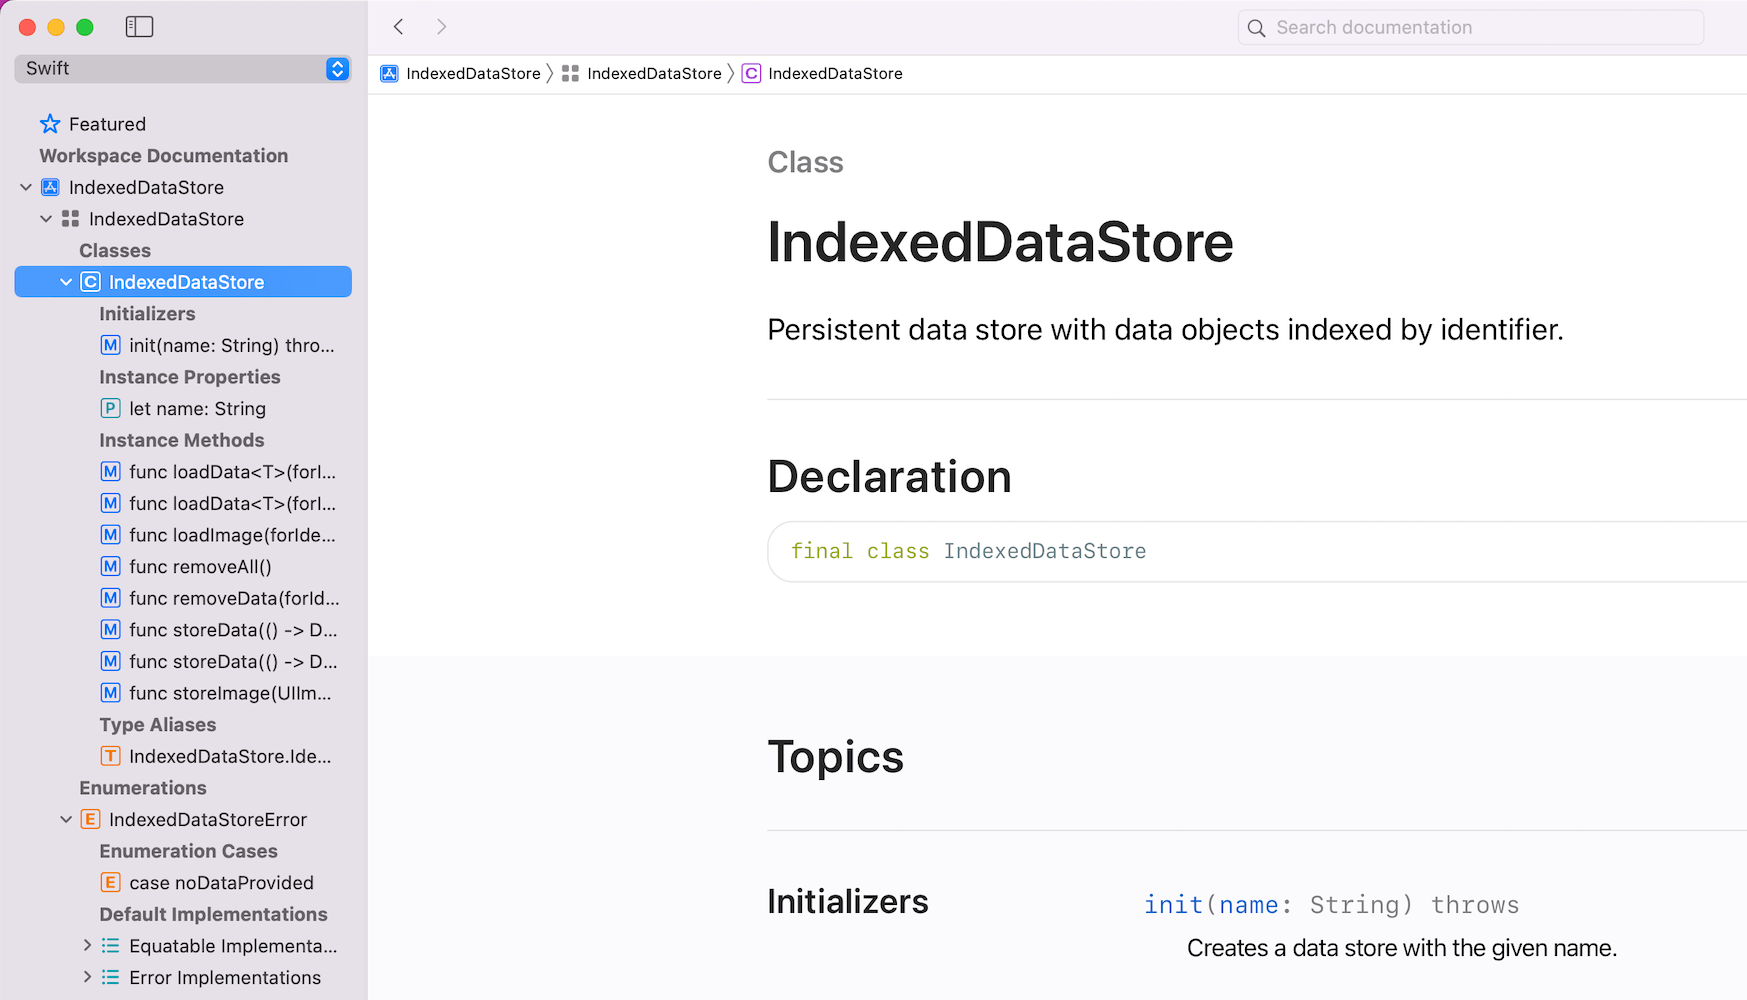
Apple’s Swift-DocC plugin comes with pretty rich documentation which covers many aspects of the documentation generation process. Something to keep in mind still is that the generated website can’t just be opened with Safari like we might have been used to when using Jazzy. The plugin has a separate preview command if we want to open the documentation locally. That command starts a local web server which renders the site.

Getting started with Swift-DocC plugin

As an example, we’ll take my IndexedDataStore Swift package and see what are the steps to generate and preview the documentation. But before that, for local usage, I would like to highlight the fact that Xcode’s Product menu contains a “Build Documentation” command which generates documentation and adds it to the Developer Documentation window.

Xcode product menu with build documentation menu item.
Xcode documentation viewer with locally built documentation.


OK, back to generating HTML webpages ourselves. The very first thing we need to do is adding the docc plugin as a dependency to our Swift package. If we have done that, then we have access to new commands which the plugin defines.

dependencies: [
  .package(url: "https://github.com/apple/swift-docc-plugin", from: "1.0.0"),
],

Let’s take a look at the preview command at first which generates documentation, spins up a local web server which renders it.

swift package --disable-sandbox preview-documentation --target IndexedDataStore
Building for debugging...
Build complete! (0.13s)
Template: /Applications/Xcode.app/Contents/Developer/Toolchains/XcodeDefault.xctoolchain/usr/share/docc/render
========================================
Starting Local Preview Server
	 Address: http://localhost:8000/documentation/indexeddatastore
========================================
The generated documentation site.

The other command is the one which generates the static documentation webpage, which we can then commit to GitHub and let the GitHub pages to render.

swift package \
    --allow-writing-to-directory ./docs \
    generate-documentation \
    --target IndexedDataStore \
    --disable-indexing \
    --output-path ./docs \
    --transform-for-static-hosting \
    --hosting-base-path IndexedDataStore

Since plugin commands run under a sandboxed environment, we’ll need to explicitly define which folder is writable with the --allow-writing-to-directory argument. The --disable-indexing argument disables generating index, which is used by Xcode or other IDEs. The --transform-for-static-hosting removes the need to have any routing rules on the web server. And finally, --hosting-base-path defines the base-path of the documentation. Meaning, if the GitHub repository name is IndexedDataStore then we should pass in IndexedDataStore. Otherwise, relative links in the generated webpage are incorrect. The full format of the URL when it is pushed to a branch and GitHub pages is configured to read from the pushed branch with relative path set to /docs is: https://<username>.github.io/<repository-name>/documentation/<target-name> .

GitHub pages configuration where the branch is set to docc-documentation and relative path to /docs.

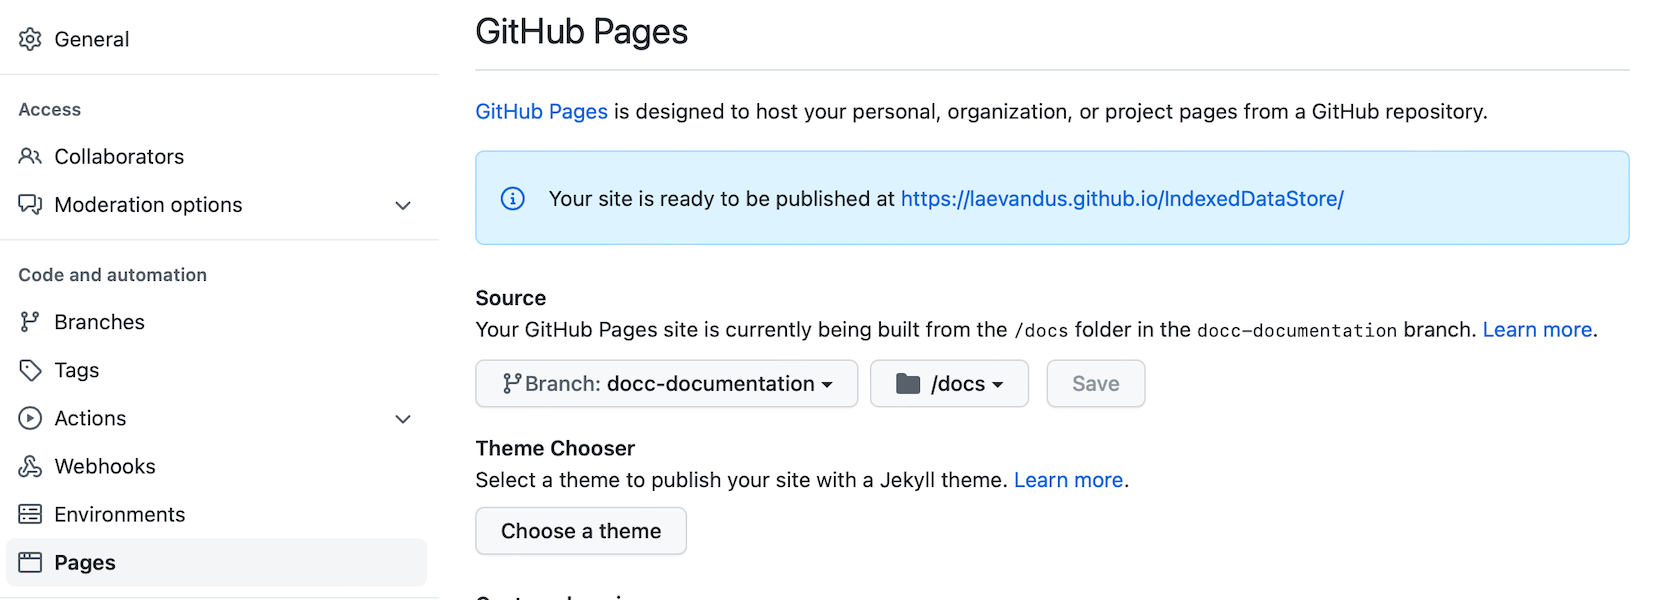
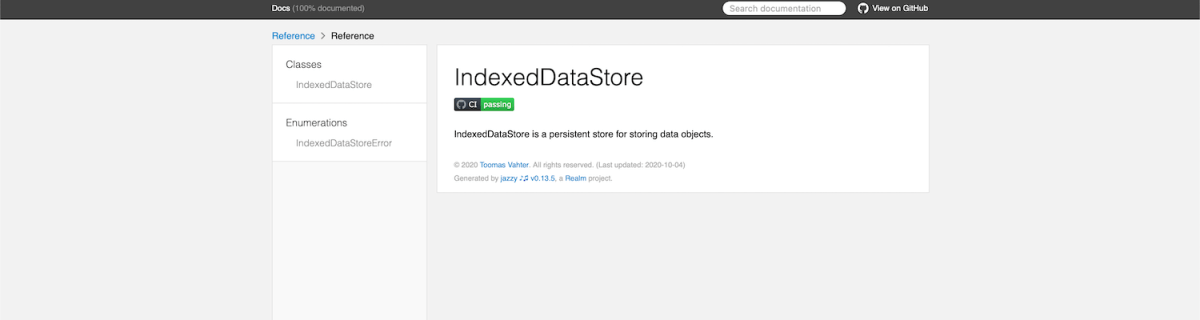
For IndexedDataStore, it is https://laevandus.github.io/IndexedDataStore/documentation/indexeddatastore/. Note that the target name is in lowercase. The link won’t work since I switched GitHub pages back to the Jazzy documentation, which is auto-generated on merge.

If this was helpful, please let me know on Mastodon@toomasvahter or Twitter @toomasvahter. Feel free to subscribe to RSS feed. Thank you for reading.

Categories
iOS macOS Swift

Publishing API documentation in GitHub with Jazzy

Jazzy is an excellent tool for generating API documentation for Swift and Objective-C projects. Let’s take a look how to generate and publish API documentation in GitHub with Jazzy.

Installing Jazzy

Installation: sudo gem install jazzy

Jazzy config file for a Swift package

Configuration options can be passed into Jazzy directly with the command or adding them to the a file, by default it is .jazzy.yaml. We’ll use the default path as then we can run Jazzy without any command line arguments: the configuration is read from the configuration file. For seeing all the available configuration options run jazzy config -h. Just note that the configuration file expects snakecase (build-tool-arguments becomes build_tool_arguments). Let’s take a look on Swift package IndexedDataStore which can be built both for macOS and iOS. It has some additional functions for iOS and therefore it is preferred to build iOS target when running Jazzy. Otherwise API documentation would not contain those public functions meant for iOS. Typically Swift package is built using swift build command. The current state is that there is no easy way for just specifying the target OS to the swift build command. What we can do instead is using xcodebuild command which knows how to build Swift packages as well. We’ll just need to specify the scheme, sdk, and destination arguments. If we now run jazzy command without any arguments, it will read the configuration file, and generate API documentation which includes functions which require UIKit.

author: Toomas Vahter
author_url: https://www.augmentedcode.io
github_url: https://github.com/laevandus/IndexedDataStore
output: Docs
swift_build_tool: xcodebuild
build_tool_arguments:
– -scheme
– IndexedDataStore
– -sdk
– iphoneos
– -destination,platform=iOS Simulator,OS=latest,name=iPhone 11 Pro
view raw .jazzy.yaml hosted with ❤ by GitHub
Configuration file for Jazzy which builds documentation for iOS.

GitHub action for publish API documentation

Thankfully there is a GitHub action available for publishing API documentation with Jazzy. We can set up a GitHub action with a name PublishDocumentation and store it in the repository’s .github/workflows folder.

name: PublishDocumentation
on:
workflow_dispatch:
release:
types: [ published ]
jobs:
publish:
runs-on: macos-latest
steps:
– uses: actions/checkout@v2
– name: Publish Jazzy Docs
uses: steven0351/publish-jazzy-docs@v1
with:
personal_access_token: ${{ secrets.ACCESS_TOKEN }}
config: .jazzy.yaml
GitHub action which publishes API documentation to GitHub pages.

The GitHub action is triggered either manually or when publishing a release. Manual trigger is called workflow_dispatch and when it is set, GitHub webpage will display a “Run workflow” button. This is very handy when testing GitHub actions. Another thing to note is that publish-jazzy-docs requires repository access because it needs to write the documentation files to the gh-pages branch. For giving repository access we’ll need to set up personal access token with repo scope. Secondly, we’ll need to paste the created token to the repository’s secrets. In this example, we have added a secret named ACCESS_TOKEN and the value is the personal access token. Now, if we have committed and pushed the GitHub action then we can open the repository on GitHub.com, navigate to actions, selecting PublishDocumentation, and using Run workspace button for triggering the wokrflow. If everything goes well, then the workspace creates a gh-pages branch which in turn creates a new GitHub page. In this case the URL to the new GitHub page looks like: https://laevandus.github.io/IndexedDataStore/ (link). This is what we wanted to achieve, API documentation publiched on GitHub.

Summary

We set up Jazzy for a Swift package and used it to generate API documentation. Generated API documentation was published to a GitHub page.

If this was helpful, please let me know on Mastodon@toomasvahter or Twitter @toomasvahter. Feel free to subscribe to RSS feed. Thank you for reading.