
Xcode 12 comes with Swift toolchain 5.3 which brings resource and localisation support to Swift packages. Nice thing is that Swift package support only depends on the toolchain’s version and does not have additional OS requirements. At the same time, let’s keep in mind that OS requirements come from the code we actually add to the package. This means that it is a good time to start using Swift packages for separating code into separate libraries and stop using separate framework projects in a workspace. Additional benefit is that, if needed, it is pretty easy to move the package out of the workspace and creating a sharable package what can be publish and reused in other projects. But for now, let’s take a look on how to set up a new workspace with an app project and a Swift package which represents a design library with custom button style.
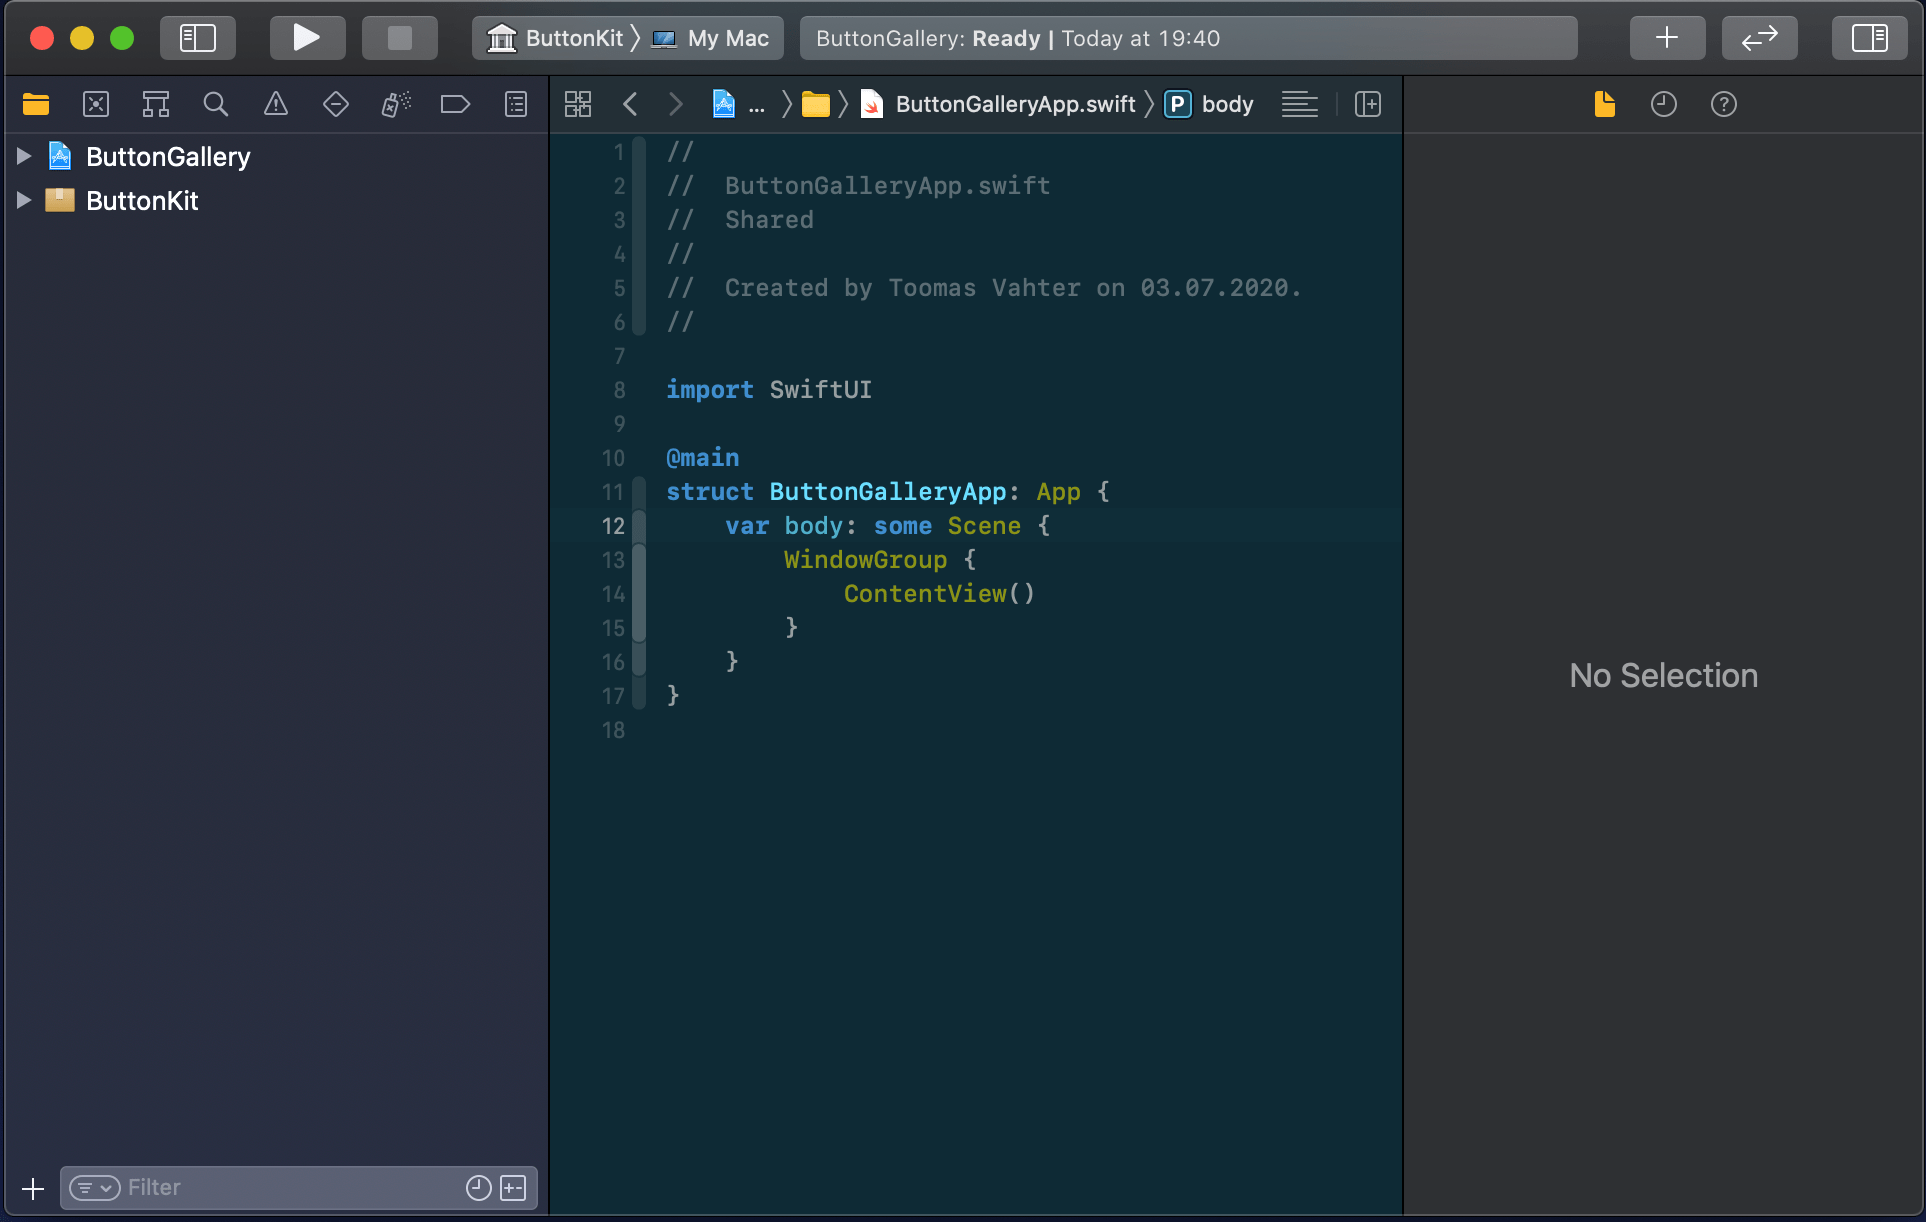
File structure of the workspace
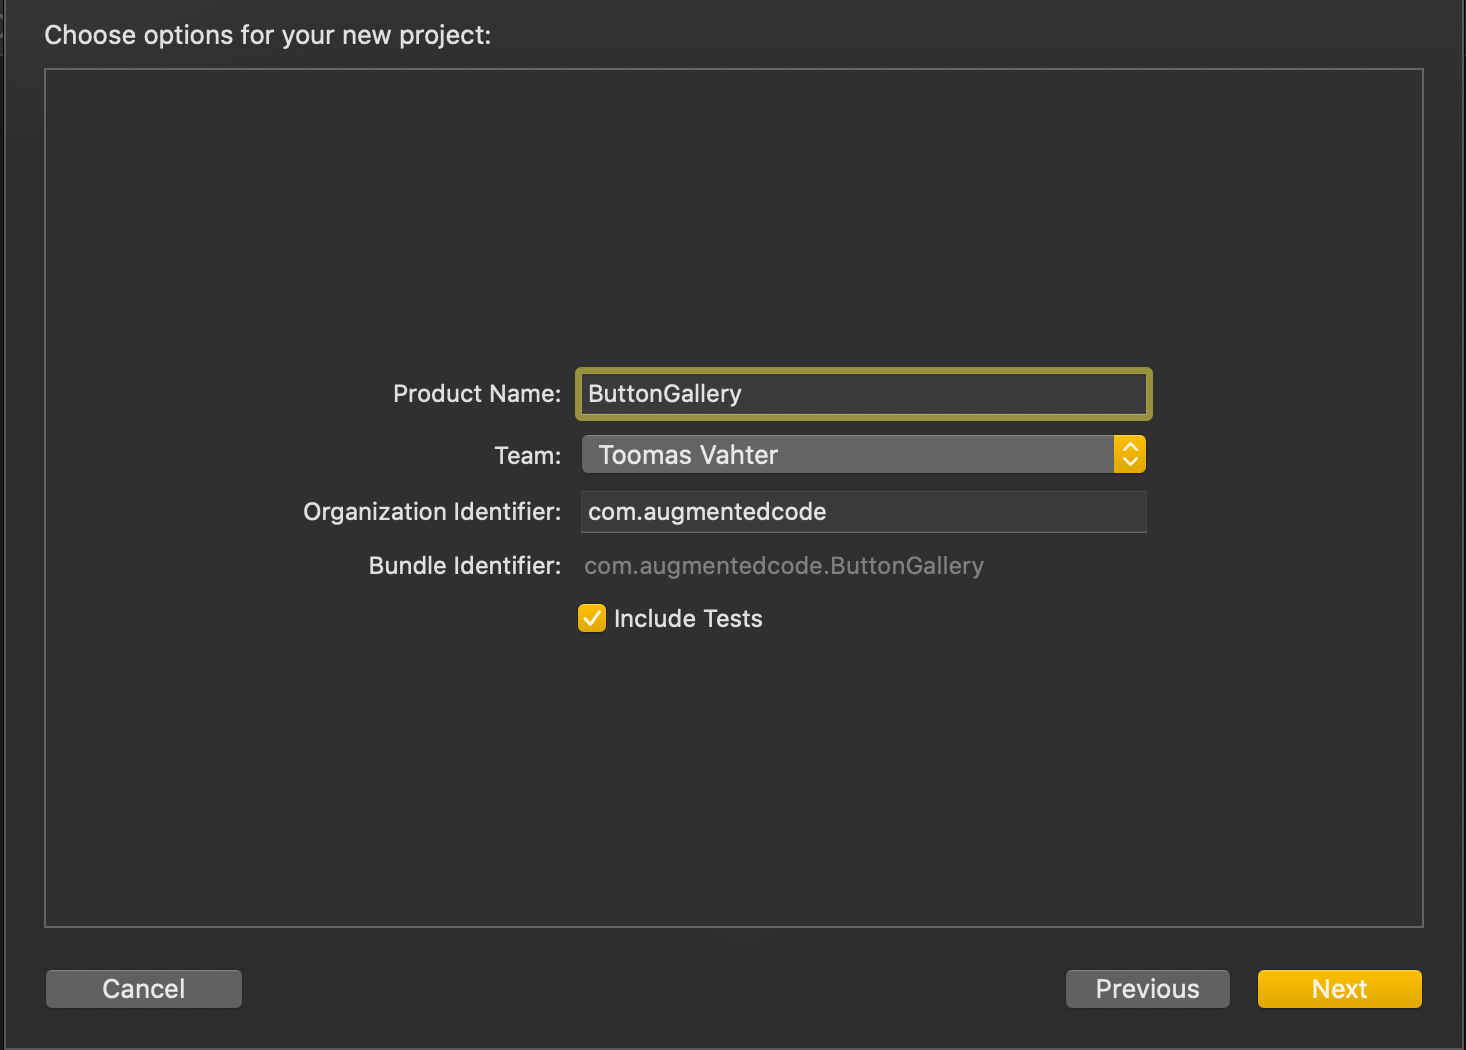
The app project will have a name “ButtonGallery” and the Swift package will have a name “ButtonKit”. But first, let’s create a folder named “SwiftPackageAppWorkspace” which is the root folder of the project. The app project and the Swift package will go to that folder in separate folders.
Adding the workspace, the app project, and the Swift package
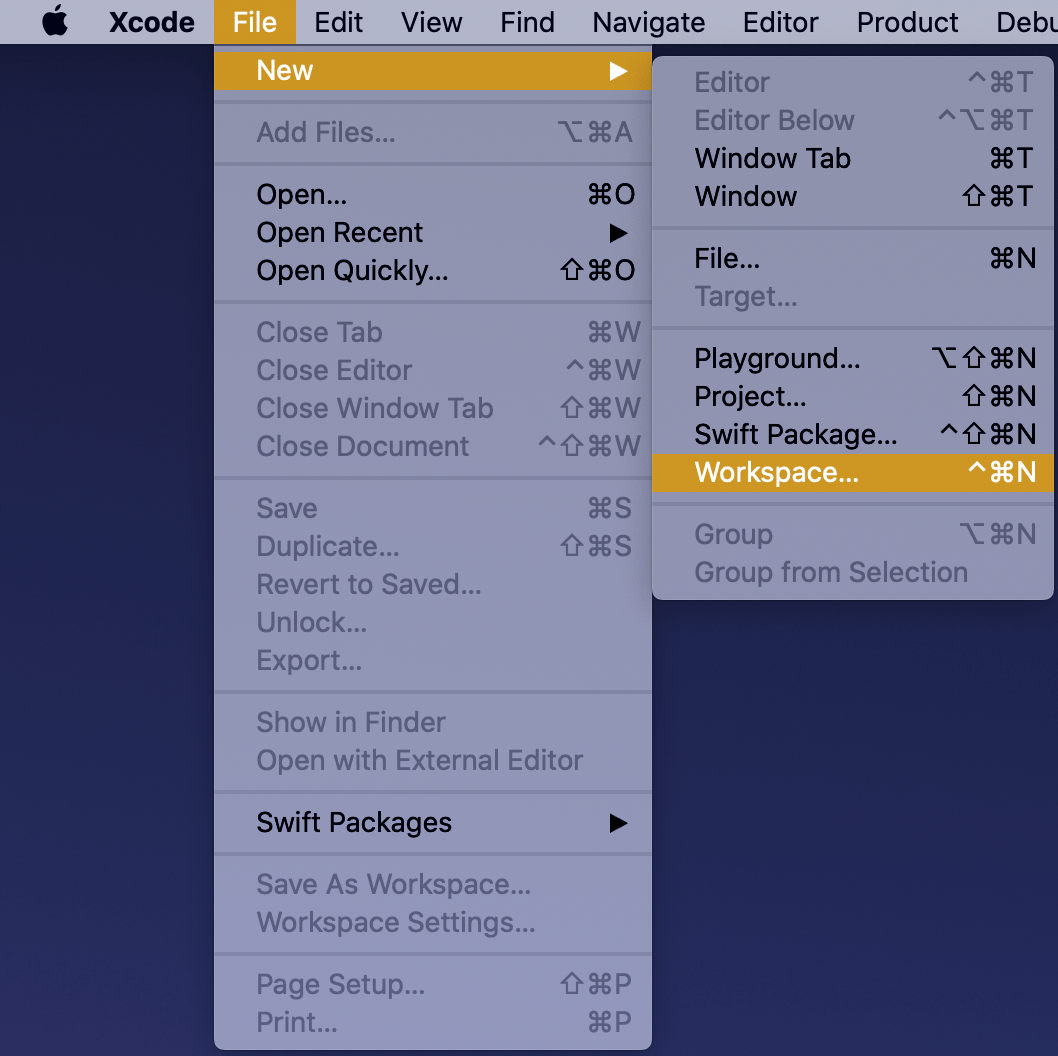
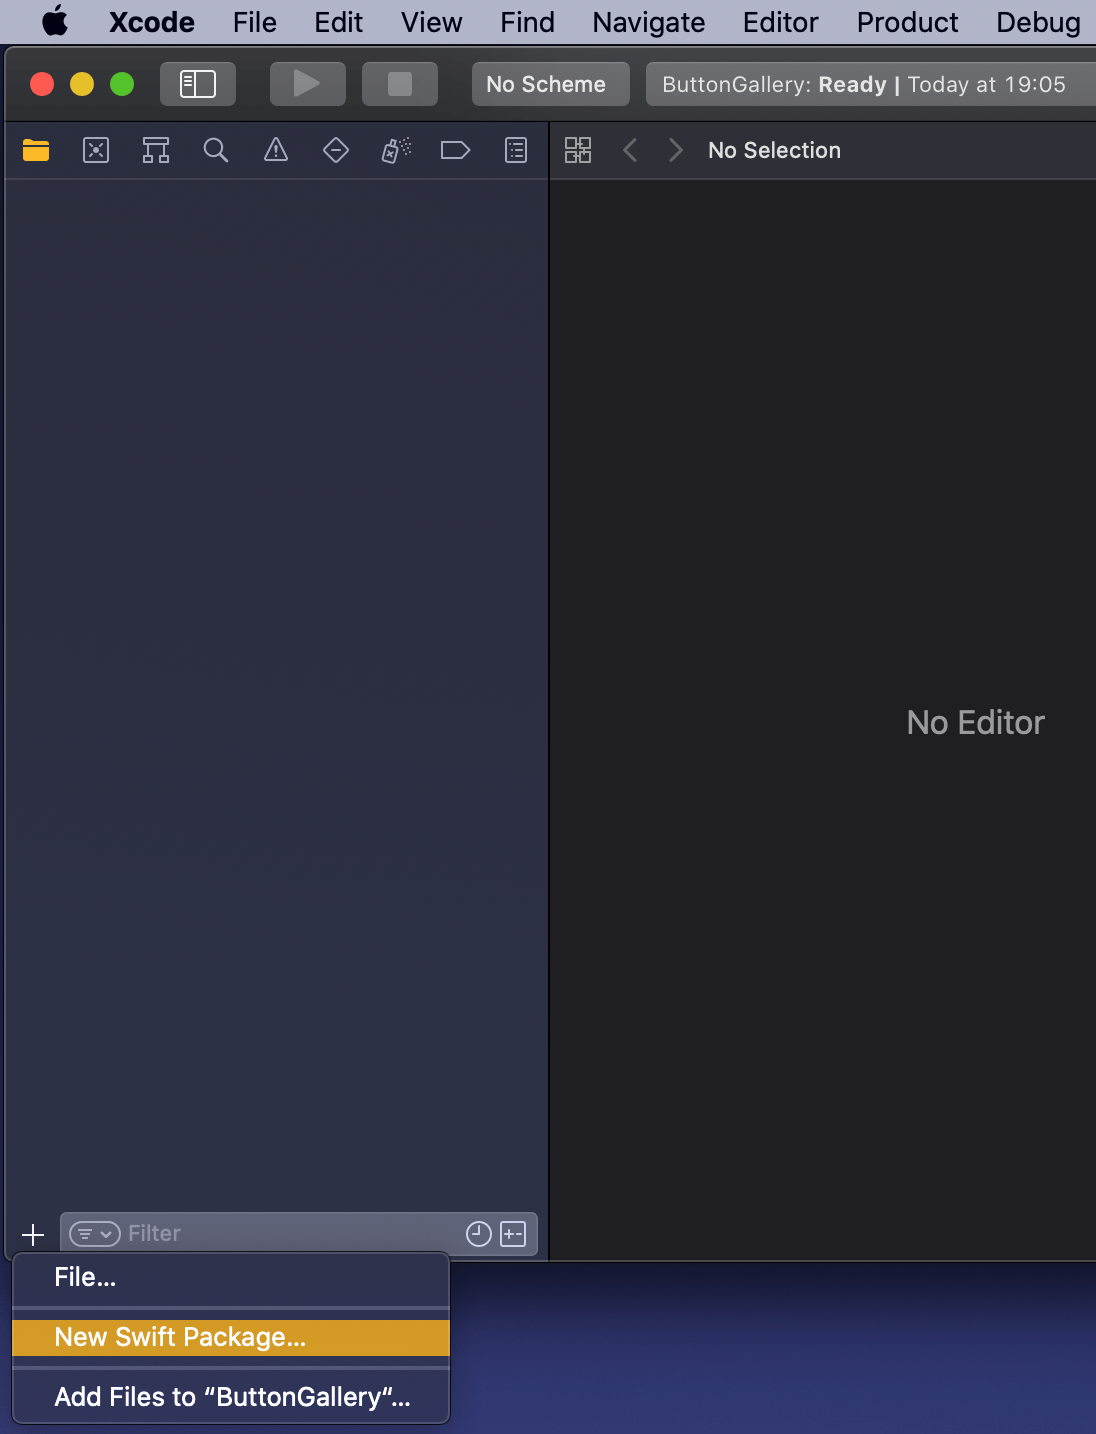
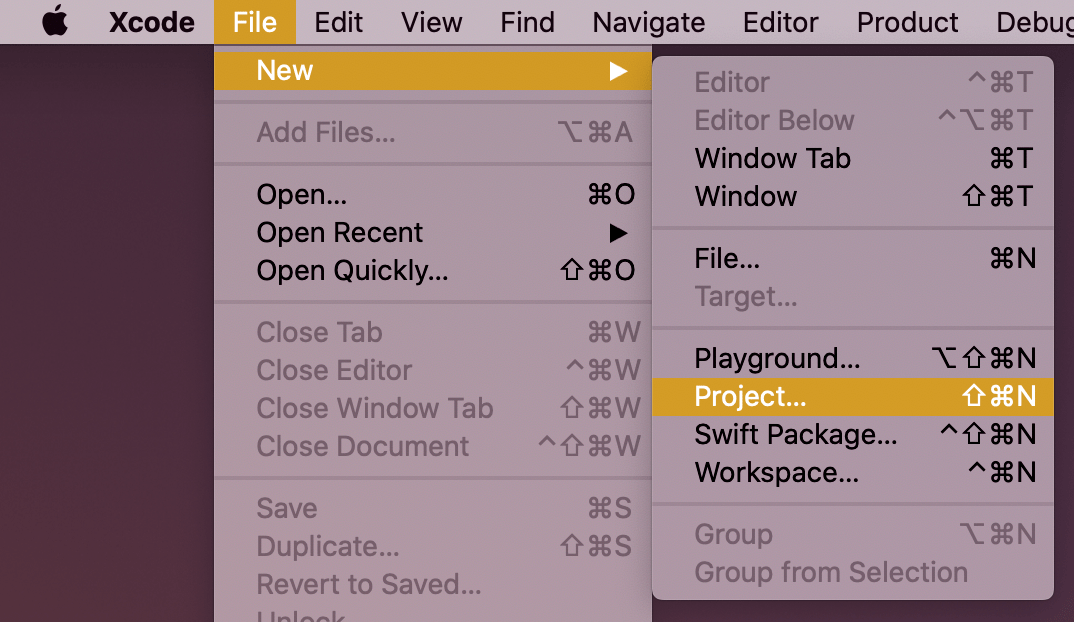
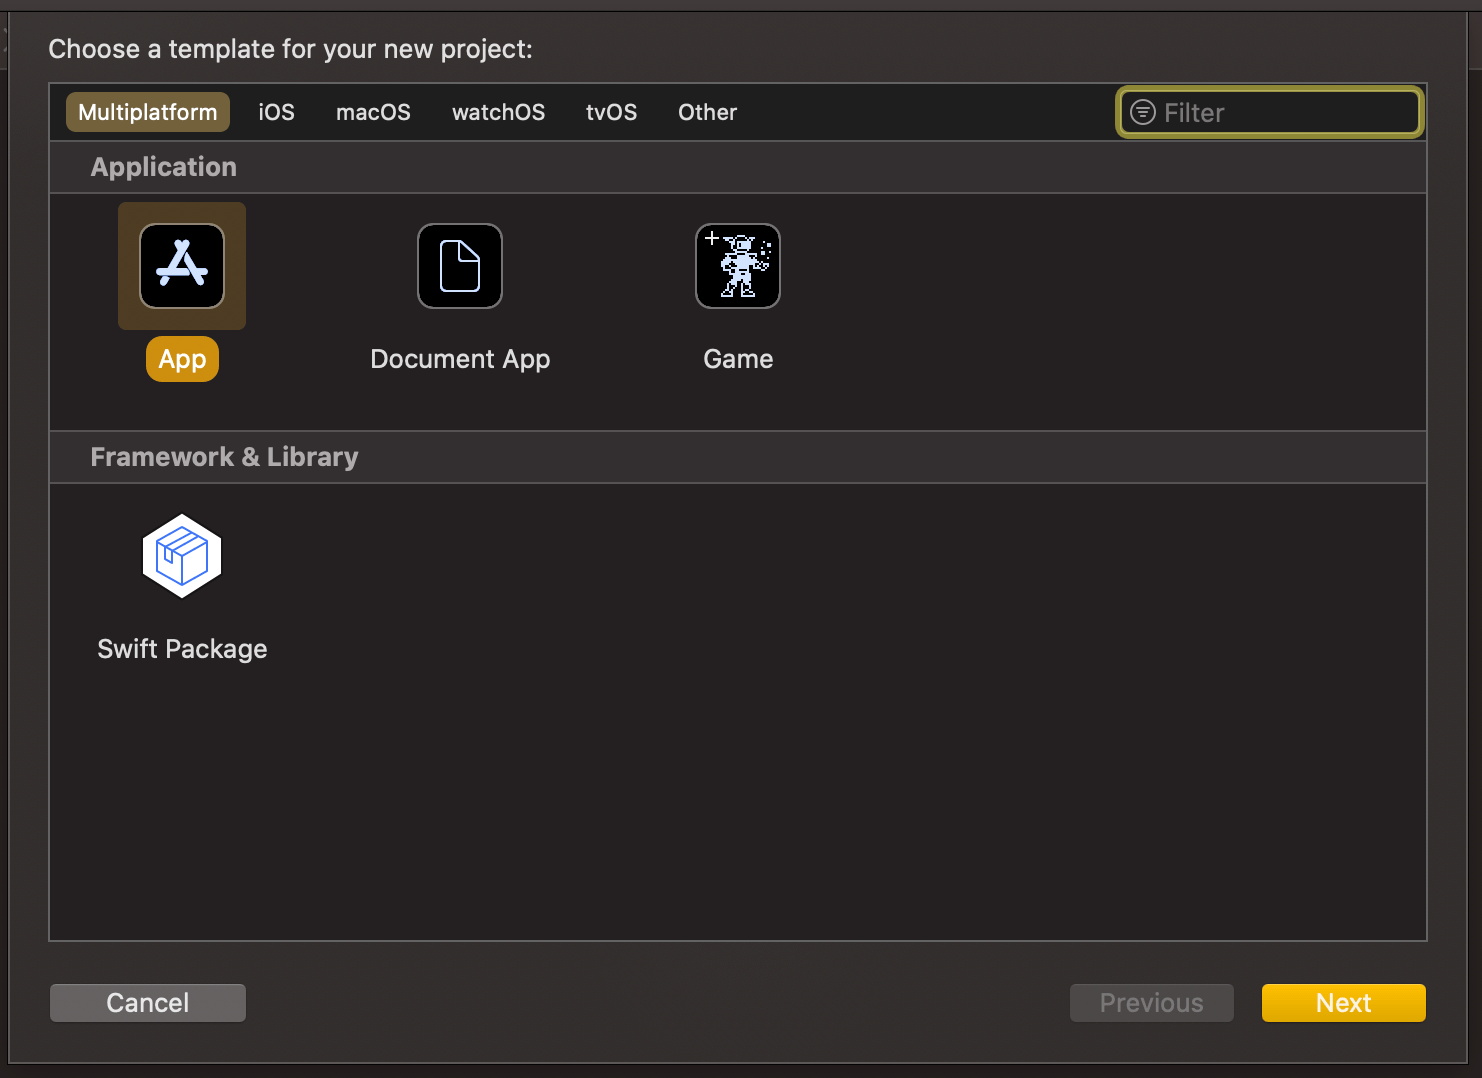
New workspace can be created by selecting the Workspace menu item in File>New menu in the Xcode. Save the workspace in the “SwiftPackageAppWorkspace” folder what we created just before. Xcode opens the created workspace after clicking on save and then the next step is to add a new Swift package. Easiest is to use the plus button at the bottom of the left corner, selecting “New Swift Package”, and saving the package in the “SwiftPackageAppWorkspace” folder. Uncheck the option on the save panel for creating a git repository because the git repository should be added in the “SwiftPackageAppWorkspace” instead (we skipped this step). Third step is to add the app project by using File>New menu. Xcode also offers an option to add the new project to the workspace. Therefore make sure “Add to” and “Group” have the workspace selected on the save panel. Described steps are shown below.


Linking the Swift package in the app project
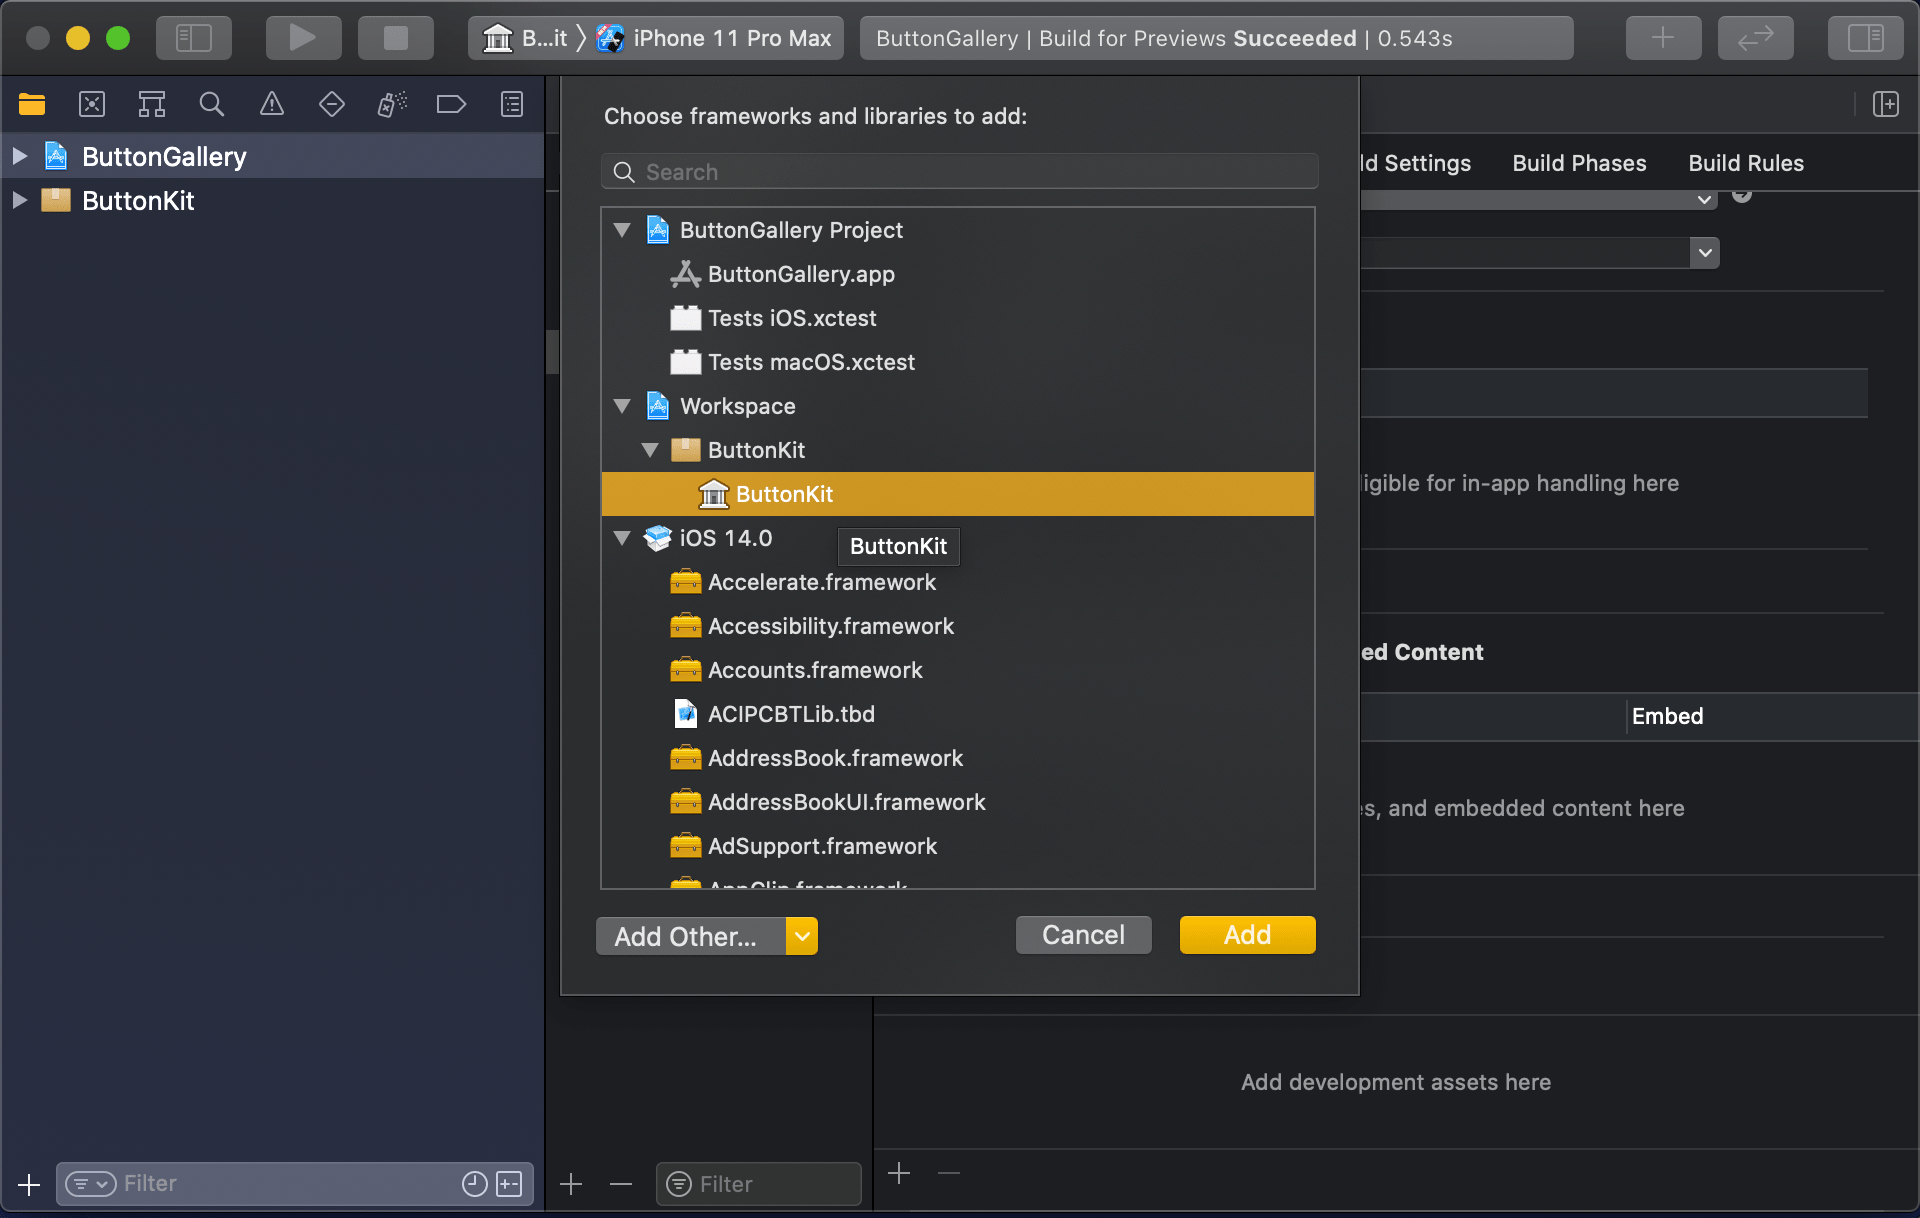
Swift package needs to be added to the app target: select “ButtonGallery” in the project navigator, click on the iOS target, General, and then on the plus button in the “Frameworks, Libraries, and Embedded Content” section, select the “ButtonKit” library.

Now the workspace is configured but there is not any useful code in the “ButtonKit”. Let’s fix that next and add a FunkyButtonStyle.swift to the package and set minimum platforms in the package manifest because we’ll use SwiftUI in the implementation and it has minimum platform requirements. Because FunkyButtonStyle is in a separate module and by default access control is set to internal, then we’ll need to make it public before it can be imported to the app target.

Summary
We created a new workspace what contains a Swift package and an app project. We looked into how to provide functionality in the package and making it available for the main app target.
If this was helpful, please let me know on Mastodon@toomasvahter or Twitter @toomasvahter. Feel free to subscribe to RSS feed. Thank you for reading.
Project
SwiftPackageAppWorkspace (Xcode 12b1)

2 replies on “Separating code with Swift packages in Xcode”
There is one Problem with this Approach. If we have Package.swift file inside ur project folder then when we try to fetch this project from other Applications using git url. Xcode looks for Package.swift file in the base folder of the repository. so I will not be able to add ur Library to other projects
LikeLike
Hi, those packages are only meant to be used within one repo, just a technique how to use multiple modules. As soon as you need to share this package with other apps you’ll need to move the package to a standalone repository and adding the package to app projects with repo url.
LikeLike