Categories
macOS Swift SwiftUI

Reading Fastfiles with document based SwiftUI app on macOS

WWDC’20 brought an addition to SwiftUI apps which enables to create document based applications in SwiftUI. Along with DocumentGroup API two new protocols were added: FileDocument and ReferenceFileDocument. The first one is meant for value types and the latter one for class type document types. For seeing how much effort it takes to create a document based SwiftUI app, let’s create a small macOS app which reads Fastlane’s Fastfiles.

Mac app window showing a list of lanes from a Fastfile
The final applications which displays a list of lanes.

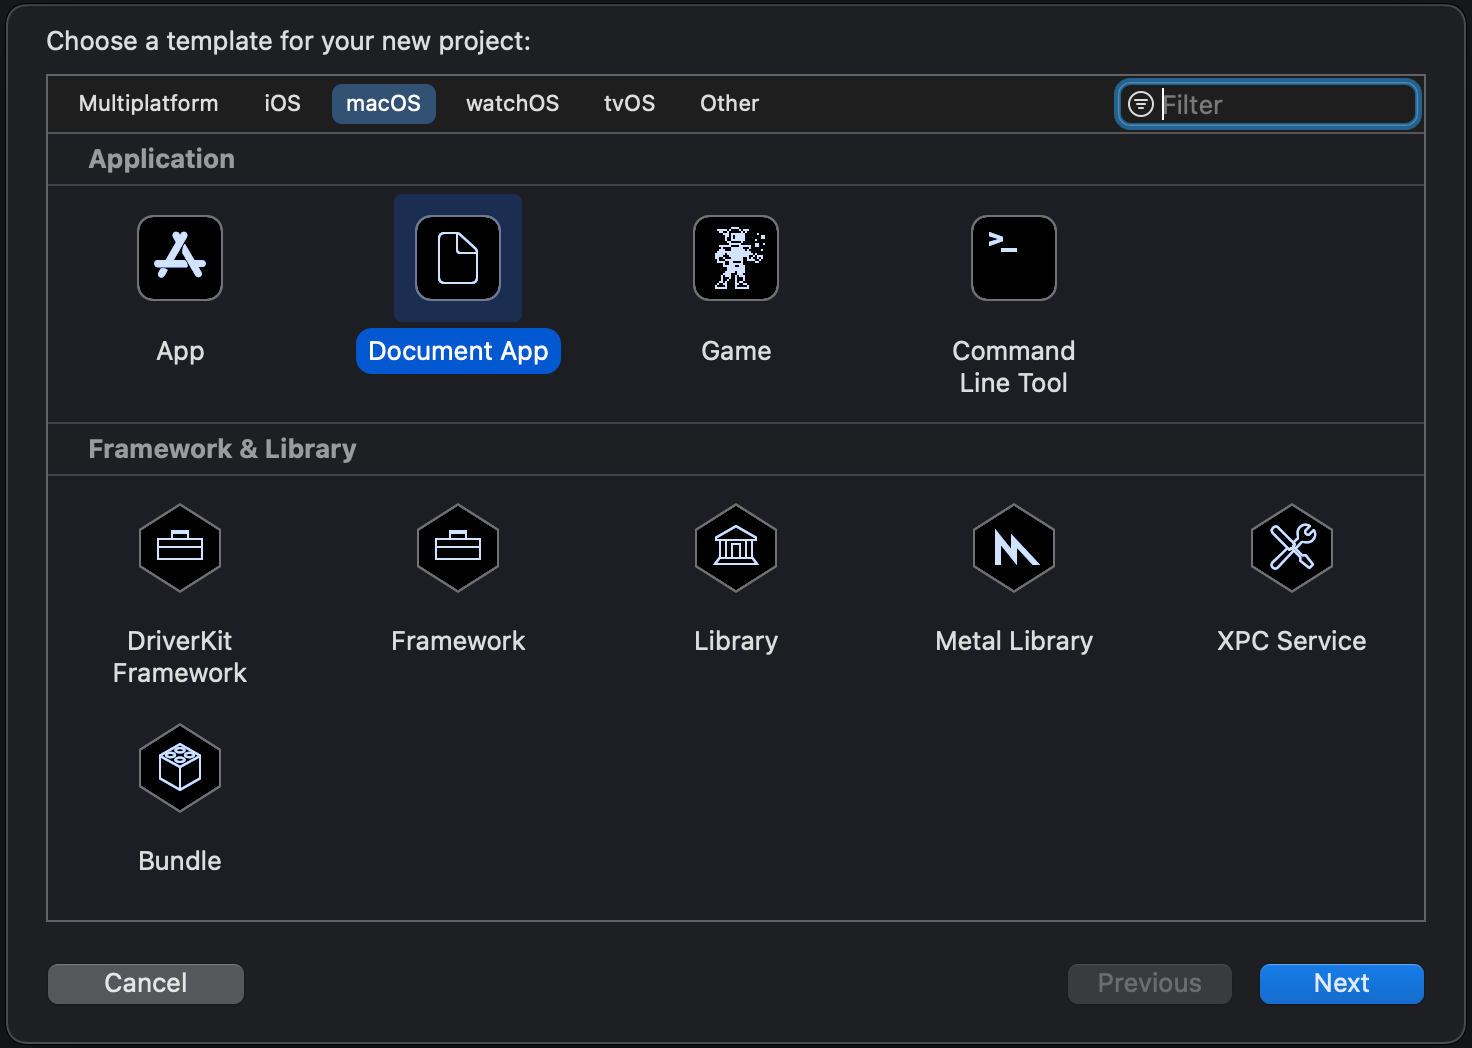
Xcode comes with a pretty nice template for document based application. For this specific case we will go with macOS’ document app template.

A template picker in Xcode showing macOS document app template being selected.
Xcode template picker.

The default template is set up in a way that it can be used for reading and writing text documents. Let’s go and modify the created app. Fastfiles in Fastlane do not have any file extensions and therefore we’ll need to use public.data Uniform Type Identifiers (UTI) type which enables the app to open it. This has a side-effect as well, now the app can open lots of other files as well, so we should probably add a validation step which makes sure we are trying to read a Fastfile. As the app is going to deal with public.data UTI types and the app itself does not define any custom UTI types then Document Types and Imported Type Identifiers in the Info.plist can be removed.

Like mentioned before, SwiftUI brought a new way of creating document based applications. Document types are presented either with value or reference type. FileDocument is a protocol which adds an init method with read support, a write method and supported UTI type declarations for reading and writing. It is a pretty compact protocol when thinking about the interface UIDcoument has. Something to keep in mind is that every implemented method in the document must be thread-safe because reading and writing always happens on background threads. But let’s take a look at the implementation of a document which represents a Fastfile document:

struct FastfileDocument: FileDocument {
let fastfileContents: String
init(contents: String) {
self.fastfileContents = contents
}
init(configuration: ReadConfiguration) throws {
// TODO: validate the file name
guard let data = configuration.file.regularFileContents else { throw CocoaError(.fileReadCorruptFile) }
guard let string = String(data: data, encoding: .utf8) else { throw CocoaError(.fileReadCorruptFile) }
fastfileContents = string
}
static var readableContentTypes: [UTType] {
return [UTType("public.data")!]
}
func fileWrapper(configuration: WriteConfiguration) throws -> FileWrapper {
let data = fastfileContents.data(using: .utf8)!
return FileWrapper(regularFileWithContents: data)
}
// MARK: Accessing Lanes
func lanes() -> [Lane] {
return FastfileParser.lanes(in: fastfileContents)
}
}
struct Lane: Equatable, Identifiable {
let name: String
let documentation: String
var id: String {
return name
}
}

The FastfileParser was covered by the previous blog post if you would like to take a look: Adding prefixMap for expensive operations in Swift. In summary, the document just reads the whole Fastfile into the memory and provides a method for parsing lanes. Note that the protocol requires to have a write method defined as well although, at least for now, we are not going to use it. Having the document created, the next step is building a small UI which shows a list of lanes.

DocumentGroup is a new scene type which manages everything around creating, viewing, and saving documents. Therefore, for viewing a document we’ll need to create a DocumentGroup for viewing and provide a SwiftUI view which can display the document. DocumentGroup takes care of showing the open panel and coordinating the view creation. The example SwiftUI app looks like this:

@main
struct LaneControlApp: App {
var body: some Scene {
DocumentGroup(viewing: FastfileDocument.self) { file in
LaneListView(viewModel: LaneListView.ViewModel(document: file.document))
}
}
}
view raw App.swift hosted with ❤ by GitHub

A list view for showing the list of lanes is pretty straight-forward: LaneListView uses the List view component and displays individual rows with the LaneRowView. The row view shows the name of the lane and the description found in the Fastfile document.

struct LaneListView: View {
@StateObject var viewModel: ViewModel
var body: some View {
List {
ForEach(viewModel.lanes) { lane in
LaneRowView(lane: lane)
}
}
.frame(minWidth: 200, minHeight: 200)
}
final class ViewModel: ObservableObject {
let lanes: [Lane]
init(document: FastfileDocument) {
lanes = document.lanes()
}
}
}
struct LaneRowView: View {
let lane: Lane
var body: some View {
VStack(spacing: 8) {
Text(lane.name)
.font(.headline)
if !lane.documentation.isEmpty {
Text(lane.documentation)
.font(.subheadline)
.multilineTextAlignment(.center)
}
}
.frame(maxWidth: .greatestFiniteMagnitude)
.foregroundColor(.white)
.padding(12)
.background(Color.accentColor)
.cornerRadius(12)
}
}

Summary

DocumentGroup, FileDocument, and ReferenceFileDocument APIs are the building blocks for building document based apps with SwiftUI. Getting a simple document based app up and running does not require much code at all.

If this was helpful, please let me know on Mastodon@toomasvahter or Twitter @toomasvahter. Feel free to subscribe to RSS feed. Thank you for reading.

Categories
Swift SwiftUI UIKit Vision

Scanning text using SwiftUI and Vision on iOS

Apple’s Vision framework contains computer vision related functionality and with iOS 13 it can detect text on images as well. Moreover, Apple added a new framework VisionKit what makes it easy to integrate document scanning functionality. For demonstrating the usage of it, let’s build a simple UI what can present the scanner and display scanned text.

Cropping text area when scanning documents

Scanning text with Vision

VisionKit has VNDocumentCameraViewController and when presented, it allows scanning documents and cropping scanned documents. It uses delegate for publishing scanned documents via an instance of VNDocumentCameraScan. This object contains all the taken images (documents). Next, we can use VNImageRequestHandler in Vision for detecting text on those images.

final class TextRecognizer {
    let cameraScan: VNDocumentCameraScan
    
    init(cameraScan: VNDocumentCameraScan) {
        self.cameraScan = cameraScan
    }
    
    private let queue = DispatchQueue(label: "com.augmentedcode.scan", qos: .default, attributes: [], autoreleaseFrequency: .workItem)
    
    func recognizeText(withCompletionHandler completionHandler: @escaping ([String]) -> Void) {
        queue.async {
            let images = (0..<self.cameraScan.pageCount).compactMap({ self.cameraScan.imageOfPage(at: $0).cgImage })
            let imagesAndRequests = images.map({ (image: $0, request: VNRecognizeTextRequest()) })
            let textPerPage = imagesAndRequests.map { image, request -> String in
                let handler = VNImageRequestHandler(cgImage: image, options: [:])
                do {
                    try handler.perform([request])
                    guard let observations = request.results as? [VNRecognizedTextObservation] else { return "" }
                    return observations.compactMap({ $0.topCandidates(1).first?.string }).joined(separator: "\n")
                }
                catch {
                    print(error)
                    return ""
                }
            }
            DispatchQueue.main.async {            
                completionHandler(textPerPage)
            }
        }
    }
}

Presenting document scanner with SwiftUI

As VNDocumentCameraViewController is UIKit view controller we can’t directly present it in SwiftUI. For making this work, we’ll need to use a separate value type conforming to UIViewControllerRepresentable protocol. UIViewControllerRepresentable is the glue between SwiftUI and UIKit and enables us to present UIKit views. This protocol requires us to define the class of the view controller and then implementing makeUIViewController(context:) and updateUIViewController(_:context:). In addition, we’ll also create coordinator what is going to be VNDocumentCameraViewController’s delegate. SwiftUI uses UIViewRepresentableContext for holding onto the coordinator and managing the view controller updates behind the scenes. Our case is pretty simple, we just use completion handler for passing back scanned text or nil when it was closed or error occurred. No need to update the view controller itself, only to pass data from it back to SwiftUI.

struct ScannerView: UIViewControllerRepresentable {
    private let completionHandler: ([String]?) -> Void
    
    init(completion: @escaping ([String]?) -> Void) {
        self.completionHandler = completion
    }
    
    typealias UIViewControllerType = VNDocumentCameraViewController
    
    func makeUIViewController(context: UIViewControllerRepresentableContext<ScannerView>) -> VNDocumentCameraViewController {
        let viewController = VNDocumentCameraViewController()
        viewController.delegate = context.coordinator
        return viewController
    }
    
    func updateUIViewController(_ uiViewController: VNDocumentCameraViewController, context: UIViewControllerRepresentableContext<ScannerView>) {}
    
    func makeCoordinator() -> Coordinator {
        return Coordinator(completion: completionHandler)
    }
    
    final class Coordinator: NSObject, VNDocumentCameraViewControllerDelegate {
        private let completionHandler: ([String]?) -> Void
        
        init(completion: @escaping ([String]?) -> Void) {
            self.completionHandler = completion
        }
        
        func documentCameraViewController(_ controller: VNDocumentCameraViewController, didFinishWith scan: VNDocumentCameraScan) {
            print("Document camera view controller did finish with ", scan)
            let recognizer = TextRecognizer(cameraScan: scan)
            recognizer.recognizeText(withCompletionHandler: completionHandler)
        }
        
        func documentCameraViewControllerDidCancel(_ controller: VNDocumentCameraViewController) {
            completionHandler(nil)
        }
        
        func documentCameraViewController(_ controller: VNDocumentCameraViewController, didFailWithError error: Error) {
            print("Document camera view controller did finish with error ", error)
            completionHandler(nil)
        }
    }
}

ContentView is the main SwiftUI view presenting the content for our very simple UI with static text, button and scanned text. When pressing on the button, we’ll set isShowingScannerSheet property to true. As it is @State property, then this change triggers SwiftUI update and sheet modifier will take care of presenting ScannerView with VNDocumentCameraViewController. When view controller finishes, completion handler is called and we will update the text property and set isShowingScannerSheet to false which triggers tearing down the modal during the next update.

struct ContentView: View {
    private let buttonInsets = EdgeInsets(top: 8, leading: 16, bottom: 8, trailing: 16)
    
    var body: some View {
        VStack(spacing: 32) {
            Text("Vision Kit Example")
            Button(action: openCamera) {
                Text("Scan").foregroundColor(.white)
            }.padding(buttonInsets)
                .background(Color.blue)
                .cornerRadius(3.0)
            Text(text).lineLimit(nil)
        }.sheet(isPresented: self.$isShowingScannerSheet) { self.makeScannerView() }
    }
    
    @State private var isShowingScannerSheet = false
    @State private var text: String = ""
    
    private func openCamera() {
        isShowingScannerSheet = true
    }
    
    private func makeScannerView() -> ScannerView {
        ScannerView(completion: { textPerPage in
            if let text = textPerPage?.joined(separator: "\n").trimmingCharacters(in: .whitespacesAndNewlines) {
                self.text = text
            }
            self.isShowingScannerSheet = false
        })
    }
}

Summary

With the new addition of VisionKit and text recognition APIs, it is extremely easy to add support of scanning text using camera.

If this was helpful, please let me know on Mastodon@toomasvahter or Twitter @toomasvahter. Feel free to subscribe to RSS feed. Thank you for reading.

Example

VisionKitExample (Xcode 11)