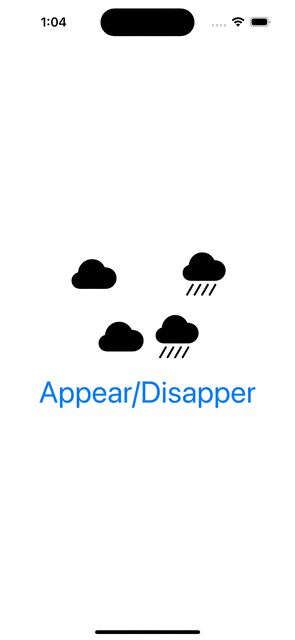
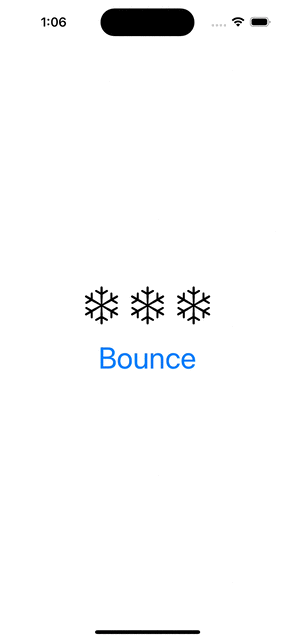
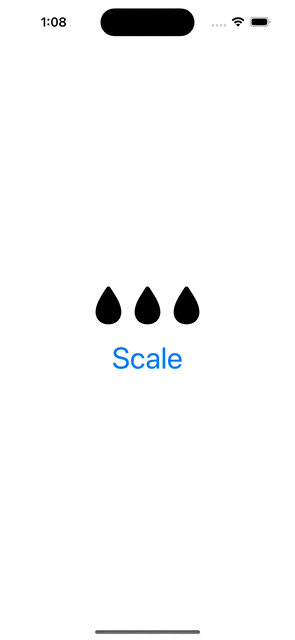
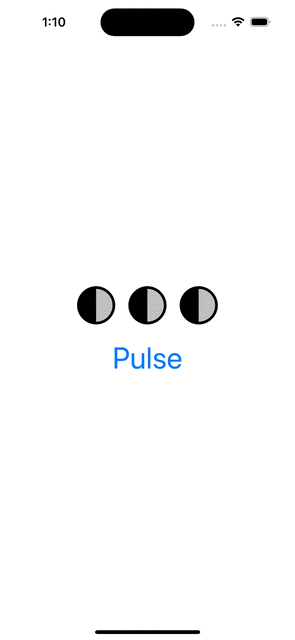
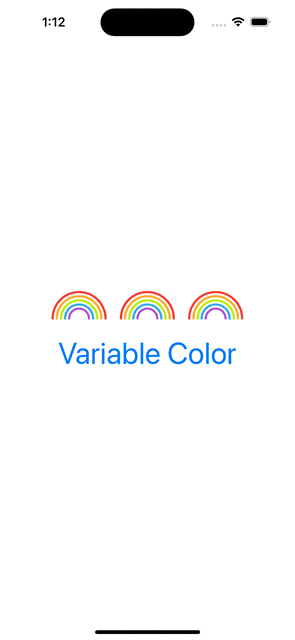
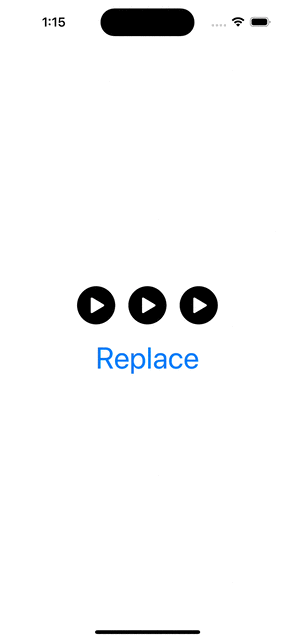
WWDC’23 introduced SF symbol animations. There are 8 different animation presets: appear, disappear, bounce, scale, pulse, variable color, and replace. Each of these presets have a dedicated use-cases. Appear animation is used when a symbol is shown in the UI for the first time. Disappear when a symbol is removed from the UI. Bounce is suitable for communicating to a user that an action was triggered, or it was completed successfully. Scale animation is suitable for highlighting elements in the UI, like when hovering on the element. It could also be used to let the user know that an action has taken a place (think about a button which has pressed down state). Pulse animation is an excellent way to show that some action is ongoing. While recording a video, the record button’s symbol pulses. Variable color animation communicates a state which changes over time (Wi-Fi signal strength). Replace animation is useful for communicating that the function of a symbol has changed. Think about a play button changing to a pause button.
Symbol animations are applied with symbolEffect(_:options:value:) for discrete effects, symbolEffect(_:options:isActive:) for indefinite effects and contentTransition(_:) and transition() view modifiers with a new symbolEffect. Discrete effects are on-off effects, whereas indefinite effects change the symbol indefinitely and need to be explicitly removed. Bounce, pulse, and variable color support discrete effects and pulse, variable color, scale, appear, disappear support indefinite effects. Appear and disappear also support transition effects, and replace supports a content transition effect. Therefore, we need to keep in mind this information when picking the view modifier.
Next, let’s look at some of the examples and how to apply these view modifiers.
Appear and Disappear
This file contains hidden or bidirectional Unicode text that may be interpreted or compiled differently than what appears below. To review, open the file in an editor that reveals hidden Unicode characters.
Learn more about bidirectional Unicode characters
This file contains hidden or bidirectional Unicode text that may be interpreted or compiled differently than what appears below. To review, open the file in an editor that reveals hidden Unicode characters.
Learn more about bidirectional Unicode characters
This file contains hidden or bidirectional Unicode text that may be interpreted or compiled differently than what appears below. To review, open the file in an editor that reveals hidden Unicode characters.
Learn more about bidirectional Unicode characters
This file contains hidden or bidirectional Unicode text that may be interpreted or compiled differently than what appears below. To review, open the file in an editor that reveals hidden Unicode characters.
Learn more about bidirectional Unicode characters
This file contains hidden or bidirectional Unicode text that may be interpreted or compiled differently than what appears below. To review, open the file in an editor that reveals hidden Unicode characters.
Learn more about bidirectional Unicode characters
This file contains hidden or bidirectional Unicode text that may be interpreted or compiled differently than what appears below. To review, open the file in an editor that reveals hidden Unicode characters.
Learn more about bidirectional Unicode characters
Resizing images is an important topic when we need to display images which do not match with the intended display size. For example, rendering much large images in a small rectangle. UIImageView supports scaling images automatically but that becomes inefficient when dealing with larger images. In this blog post we’ll take a look on how to crop and resize images to fill a target size while keeping the original aspect ratio.
Cropping and scaling UIImages
The end goal of this exercise is to create a small ImageScaler struct which supports cropping the original image and resizing it to the target size. The final instance of the UIImage has smaller size which means that less memory is required for rendering the image.
This file contains hidden or bidirectional Unicode text that may be interpreted or compiled differently than what appears below. To review, open the file in an editor that reveals hidden Unicode characters.
Learn more about bidirectional Unicode characters
As the first step let’s take a look on how to write the cropping and scaling logic. NSHipster has a great post about the different techniques what we can use for resizing images. We are going to use UIGraphicsImageRenderer for creating the scaled image. One important thing to note is that when we use CGContext for drawing the image then we need to flip the coordinate system because UIImage’s and CGContext’s coordinates do not match (UIImage uses upper left corner, CGContext bottom left corner). Coordinates can be transformed from the UIImage coordinate system to the CGContext coordinate system by combining translation and scale transforms. First we’ll move the image and then flip it in the opposite direction so that the final frame stays in the image rect.
This file contains hidden or bidirectional Unicode text that may be interpreted or compiled differently than what appears below. To review, open the file in an editor that reveals hidden Unicode characters.
Learn more about bidirectional Unicode characters
Next step after applying the affine transform is to crop the image. UIImage has a cgImage property but it can be nil when the instance was initialized with a CIImage backing storage. Therefore, we’ll need to handle both cases. Apple has a convenience drawing method for CIImage which already knows how to handle cropping. On the otherhand CGImage needs to be cropped first and then drawn. The full implementation of the crop and resize becomes:
This file contains hidden or bidirectional Unicode text that may be interpreted or compiled differently than what appears below. To review, open the file in an editor that reveals hidden Unicode characters.
Learn more about bidirectional Unicode characters
Now we have cropping and resize logic available. Depending on the target size of the image we’ll need to figure out which parts of the original image should be cropped so that the original aspect ratio does not change. Note that the original image size and the target size can have different aspect ratios: square, portrait, landscape. Therefore, we’ll need to handle all the cases. Let’s start by adding convenience properties to CGSize.
This file contains hidden or bidirectional Unicode text that may be interpreted or compiled differently than what appears below. To review, open the file in an editor that reveals hidden Unicode characters.
Learn more about bidirectional Unicode characters
After that we can add a method on CGRect which calculates a CGRect of the original image, what can be drawn in the target image. There are 9 different combinations what we need to handle. But the core logic stays the same: scale the current rectangle so that it fills the target size while keeping the original aspect ratio. Then chop off the sides which go over the target size and center the image in the target size.
This file contains hidden or bidirectional Unicode text that may be interpreted or compiled differently than what appears below. To review, open the file in an editor that reveals hidden Unicode characters.
Learn more about bidirectional Unicode characters
Scaling rect to the target size with keeping the initial aspect ratio.
Finalizing the ImageScaler
We can proceed with creating a single static method which takes care of scaling the original image to the target size while keeping the aspect ratio. The whole implementation looks like this:
This file contains hidden or bidirectional Unicode text that may be interpreted or compiled differently than what appears below. To review, open the file in an editor that reveals hidden Unicode characters. Learn more about bidirectional Unicode characters