Package.swift file in Swift packages describes the package contents including other dependencies, build targets and so on. Double-clicking a Package.swift file opens Xcode with that package and one can build and run tests. When adding continues integration to a Swift package then we would like to build, test, and also create a code coverage report. Fastlane is an excellent tool for such tasks and therefore let’s take a look on how to achieve that for packages with iOS target.
Code coverage support needs to be explicitly set and this can be done by using Swift Package Manager’s generate-xcodeproj command with having code coverage turned on. SPM then creates a Xcode project which has a slightly different scheme name with “-Package” suffix. The generated project file can then be used to run tests with Fastlane’s run_tests action. After running test we can use a tool like xcov for generating an HTML page with a code coverage report. One of the great features of the xcov is the ability to force a minimum code coverage percentage.
This approach works fine when we do not have any resource files in the package which are required for running tests. The problem is that the generate-xcodeproj command creates a project file without resource files. In those cases we would need to either use a separate standalone project or workspace file which has code coverage turned on.
Down below, we can see an example Fastfile which has a lane called “test_report” which generates a project file, runs tests and uses xcov for generating code coverage report. Additionally, it will delete the generated project file and any related folders.
This file contains hidden or bidirectional Unicode text that may be interpreted or compiled differently than what appears below. To review, open the file in an editor that reveals hidden Unicode characters.
Learn more about bidirectional Unicode characters
WWDC’20 brought an addition to SwiftUI apps which enables to create document based applications in SwiftUI. Along with DocumentGroup API two new protocols were added: FileDocument and ReferenceFileDocument. The first one is meant for value types and the latter one for class type document types. For seeing how much effort it takes to create a document based SwiftUI app, let’s create a small macOS app which reads Fastlane’s Fastfiles.
The final applications which displays a list of lanes.
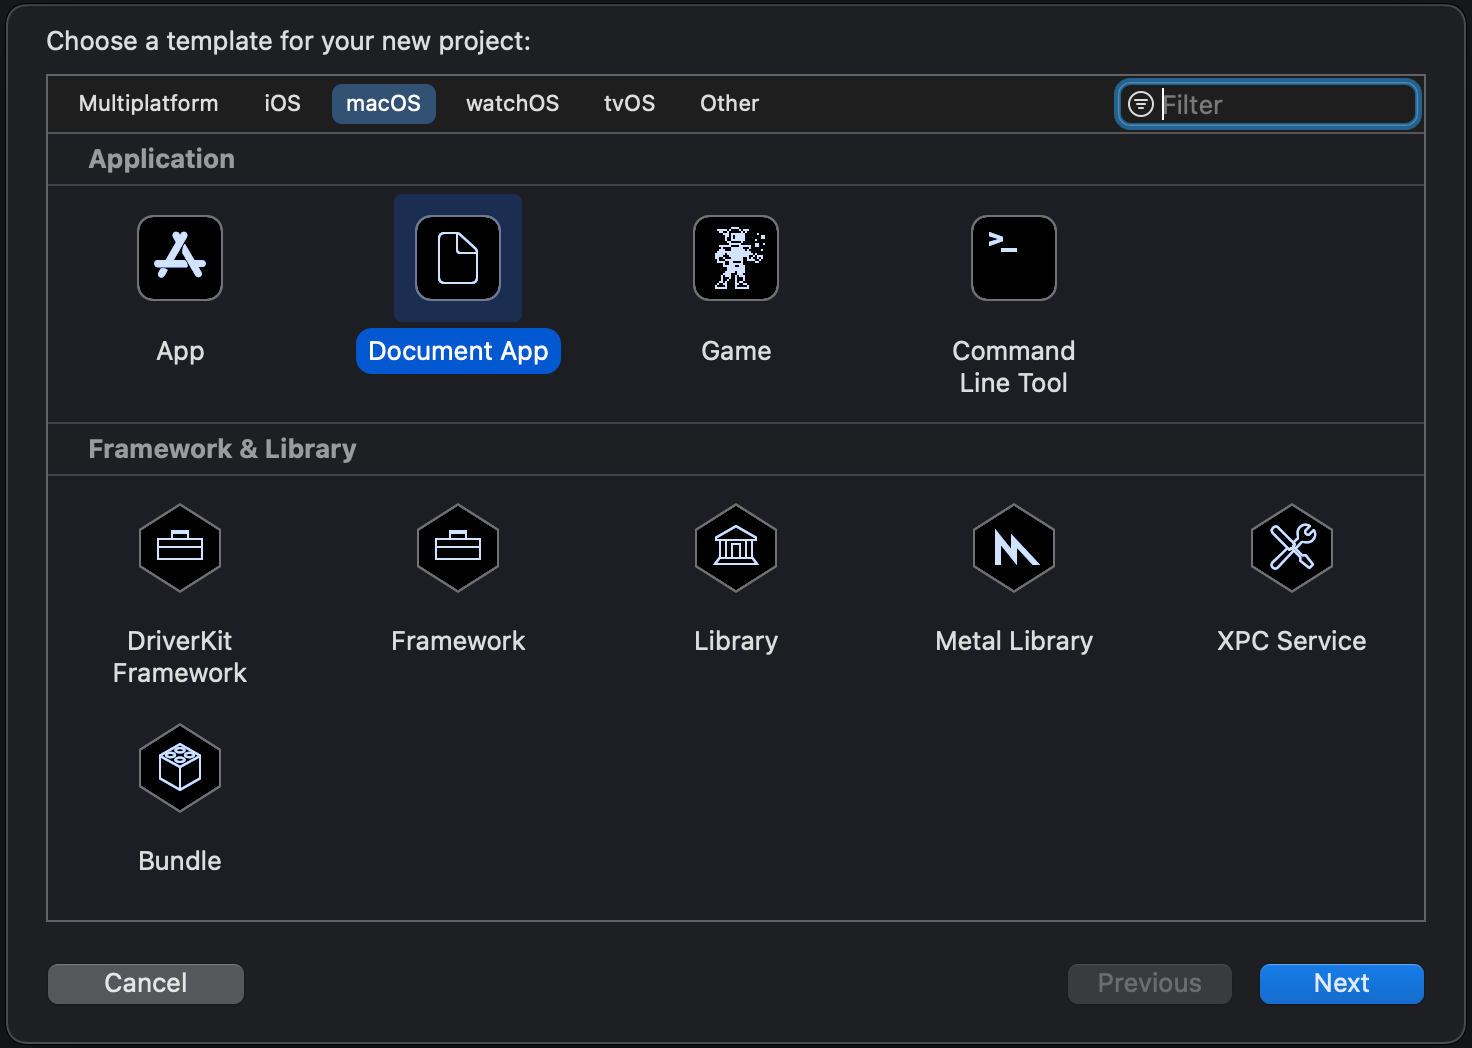
Xcode comes with a pretty nice template for document based application. For this specific case we will go with macOS’ document app template.
Xcode template picker.
The default template is set up in a way that it can be used for reading and writing text documents. Let’s go and modify the created app. Fastfiles in Fastlane do not have any file extensions and therefore we’ll need to use public.data Uniform Type Identifiers (UTI) type which enables the app to open it. This has a side-effect as well, now the app can open lots of other files as well, so we should probably add a validation step which makes sure we are trying to read a Fastfile. As the app is going to deal with public.data UTI types and the app itself does not define any custom UTI types then Document Types and Imported Type Identifiers in the Info.plist can be removed.
Like mentioned before, SwiftUI brought a new way of creating document based applications. Document types are presented either with value or reference type. FileDocument is a protocol which adds an init method with read support, a write method and supported UTI type declarations for reading and writing. It is a pretty compact protocol when thinking about the interface UIDcoument has. Something to keep in mind is that every implemented method in the document must be thread-safe because reading and writing always happens on background threads. But let’s take a look at the implementation of a document which represents a Fastfile document:
This file contains hidden or bidirectional Unicode text that may be interpreted or compiled differently than what appears below. To review, open the file in an editor that reveals hidden Unicode characters.
Learn more about bidirectional Unicode characters
The FastfileParser was covered by the previous blog post if you would like to take a look: Adding prefixMap for expensive operations in Swift. In summary, the document just reads the whole Fastfile into the memory and provides a method for parsing lanes. Note that the protocol requires to have a write method defined as well although, at least for now, we are not going to use it. Having the document created, the next step is building a small UI which shows a list of lanes.
DocumentGroup is a new scene type which manages everything around creating, viewing, and saving documents. Therefore, for viewing a document we’ll need to create a DocumentGroup for viewing and provide a SwiftUI view which can display the document. DocumentGroup takes care of showing the open panel and coordinating the view creation. The example SwiftUI app looks like this:
This file contains hidden or bidirectional Unicode text that may be interpreted or compiled differently than what appears below. To review, open the file in an editor that reveals hidden Unicode characters.
Learn more about bidirectional Unicode characters
A list view for showing the list of lanes is pretty straight-forward: LaneListView uses the List view component and displays individual rows with the LaneRowView. The row view shows the name of the lane and the description found in the Fastfile document.
This file contains hidden or bidirectional Unicode text that may be interpreted or compiled differently than what appears below. To review, open the file in an editor that reveals hidden Unicode characters.
Learn more about bidirectional Unicode characters
This file contains hidden or bidirectional Unicode text that may be interpreted or compiled differently than what appears below. To review, open the file in an editor that reveals hidden Unicode characters.
Learn more about bidirectional Unicode characters
DocumentGroup, FileDocument, and ReferenceFileDocument APIs are the building blocks for building document based apps with SwiftUI. Getting a simple document based app up and running does not require much code at all.
Swift Foundation contains a lot of useful functions on collection types. In the context of this blog post we are interested in map(_:) and prefix(while:). Map is used for transforming collection elements and prefix(while:) for getting a sequence containing initial elements until the predicate is true. In some cases the predicate used in the prefix(while:) can be expensive, or we just want to combine the information in prefix and map functions. One of such examples is when we use NSRegularExpression. More specifically, let’s take an example of processing a list of strings while the regular expression has matches and then extracting a range from the string. A concrete example could be parsing Fastlane’s Fastfile for visualization purposes.
Fastlane is used a lot in the iOS community for automating development related tasks. Lanes are added to a Fastfile where every individual lane has a name and optionally a description.
This file contains hidden or bidirectional Unicode text that may be interpreted or compiled differently than what appears below. To review, open the file in an editor that reveals hidden Unicode characters.
Learn more about bidirectional Unicode characters
If we would like to extract the lane name and description from the Fastfile then we can use regular expressions. The flow could be something like this: firstly, we can read the Fastfile contents, divide the file into lines and match lines with regular expressions. Second step is finding lines which contain a lane keyword. Then we could loop over preceding lines and collect lines which contain description. All in all, the logic for getting description could look like this:
This file contains hidden or bidirectional Unicode text that may be interpreted or compiled differently than what appears below. To review, open the file in an editor that reveals hidden Unicode characters.
Learn more about bidirectional Unicode characters
Now when we have seen a case where prefixMap can be useful, it is time to look into how it is implemented. The transform passed into the prefixMap function can return nil and the nil value means that the looping should be stopped and all the transformed elements should be returned. And yes, the implementation is pretty straight-forward.
This file contains hidden or bidirectional Unicode text that may be interpreted or compiled differently than what appears below. To review, open the file in an editor that reveals hidden Unicode characters.
Learn more about bidirectional Unicode characters
Foundation types can be extended with new functions easily. Although we could use prefix(while:) first followed with a map(_:) but sometimes we’ll just need to combine functionalities into a single function.
Creating screenshots manually for App Store is time consuming because of the number of devices and localisations. Moreover, as soon as UI changes we would need to update screenshots again. Therefore, it is best to automate the process. One way is to use fastlane and creating nice device framed screenshots with additional localised text. This time we’ll see how to add fastlane to existing project, setting up UI-testing target, scheme for App Store screenshot tests, and framing screenshots with additional text.
End result of a framed screenshot with additional text.
Installing required tools
First step is installing fastlane and as frameit command requires imagemagick, let’s install it now as well. When using homebrew installation goes as: brew install fastlane imagemagick.
Adding UI-testing target
Fastlane uses UI-tests for displaying views and then capturing screenshots. If project does not have UI-testing target set up, then this is the first step. In Xcode, open add target view (File > New > Target), choose UI-Testing Bundle and add it to the project. In our case the testing target’s name is FastlaneAppStoreScreenshotsUITests.
Support files for capturing screenshots
First thing we’ll do with fastlane is running the fastlane snapshot init command in the project folder. It will generate 2 files: Snapfile and SnapshotHelper.swift. First one contains configuration for snapshot command: devices, locales etc. Helper file we’ll move to UI-testing target: first drag it to testing target folder (FastlaneAppStoreScreenshotsUITests) and then to Xcode’s file navigator. Make sure to add it to the UI-testing target. Create subfolder named fastlane and move Snapfile to there. We’ll modify it a little bit later.
Project structure after adding UI-testing target and supporting SnapshotHelper.swift
Adding UI-test case for screenshots
We are going to define tests generating App Store screenshots in a separate XCTestCase. In Xcode, add a new UI-test case class (File > New File > UI-Test Case Class) and name it to AppStoreScreenshotUITests.
Best is when it is possible to record a UI-test which does not need any special configuration: launch the app, tap here and there, take a screeshot. In more complicated apps, we need to use launch arguments and configuring the app when it launches based on the launch arguments. In document based apps it might be needed to bundle example files in the app and then using launch arguments for choosing the file to open when running the test.
Firstly, let’s add 3 UI-tests which will cover 3 different views and calling the function snapshot(“file_name”) which is part of the SnapshotHelper.swift and handles creating screenshots and storing them in the folder specified by Snapfile.
final class AppStoreScreenshotUITests: XCTestCase {
    private var app: XCUIApplication!

    override func setUpWithError() throws {
        continueAfterFailure = false
        app = XCUIApplication()
        // Example of passing in launch arguments which can be read in the app
        // by calling CommandLine.arguments.contains("--uitesting")
        // app.launchArguments.append("--uitesting")
        setupSnapshot(app)
        app.launch()
    }

    override func tearDownWithError() throws {
        app = nil
    }

    func testScreenshot1() throws {
        snapshot("1-mainview")
    }

    func testScreenshot2() throws {
        XCTAssertTrue(app.buttons["Button1"].waitForExistence(timeout: 10))
        app.buttons["Button1"].tap()
        snapshot("2-sheet1")
    }

    func testScreenshot3() throws {
        XCTAssertTrue(app.buttons["Button2"].waitForExistence(timeout: 10))
        app.buttons["Button2"].tap()
        snapshot("3-sheet2")
    }
}
Separate scheme for App Store screenshots
UI-tests are set up for App Store screenshots, next is to add a separate scheme and adding those tests to the Test action. This scheme is the one fastlane is going to use for running tests.
For adding a new scheme, open manage schemes view (Product > Scheme > Manage Schemes). Click on the + button, select the app target and name it to AppStoreScreenshots.
AppStoreScreenshots scheme in Manage Scheme view.
After that, select the scheme and click on the Edit, open Test action and select only App Store tests. Also make sure the Shared checkbox is selected for allowing fastlane to run it.
Selecting tests in Test action for AppStoreScreenshots schemes.
Configuring Snapfile
Snapfile contains configuration for the snapshot command. There we define all the devices, locales, scheme name, location where to store generated screenshots etc. For getting started, we can start with one locale and two devices. We also need to select the scheme we added before.
App Store screen generation contains of two main steps: capturing screenshots and framing those. Fastfile allows us to create custom commands, lanes, and it is useful of adding one for app store screenshots. Create a file named Fastfile and add it to previously created Fastlane folder.
default_platform(:ios)

platform :ios do
  desc 'Generate App Store screenshots'
  lane :app_store_screenshots do
    capture_screenshots(
      clean: true
    )
    frame_screenshots
  end
end
Running fastlane app_store_screenshots will then generate screenshots and create framed versions as well. If you run it now, you’ll get screenshots with and without device frames.
Adding titles and keyword to framed screenshots
Now we have nice framed screenshots, only what is missing is adding some text to all the screenshots. If we ran fastlane app_store_screenshots in the previous step we can see that AppStoreScreenshots folder has appeared and taken screenshots are in the en-US folder. Adding text and background to each of the screenshot requires a couple of steps.
First we’ll create Framefile.json file in the AppStoreScreenshots folder which contains of configuration for frameit.
Default dictionary contains shared settings for every frame operation. We can customise by adding data array which contains screenshot specific configuration (more). Filter in data dictionaries are used for matching the configuration to screenshot files (filenames used in UI-tests). In this example we have different backgrounds for every screenshot (background files are in the same AppStoreScreenshots folder). Fonts are configured by adding a path to Framefile.json and storing fonts in a subfolder.
Localised titles and keywords are handled with strings files. We’ll need to add title.strings and keyword.strings to the locale folder, in our case, en-US. Keys in strings files work the same way as filters in Framefile.json, therefore partial match with filename works. Example strings file for title.strings is shown here:
I suggest creating strings files with Xcode making sure the file encoding is correct. If we run the fastlane app_store_screenshots command again, we’ll get nice framed screenshots with additional text.
Summary
Automating App Store screenshots with fastlane is not difficult to set up. The most difficult part in this process is writing UI-tests and providing proper data in the app which is highly app specific.