Categories
Combine iOS Swift SwiftUI

Animating view transitions in SwiftUI

One building block for navigating from one view to another is NavigationView which is a representation of UINavigationController in UIKit. This time, let’s take a look on how to transition from one SwiftUI view to another one without NavigationView.

AppFlowCoordinator managing choosing the view

The idea is to have a root SwiftUI view with only responsibility of presenting the active view. State is stored in AppFlowCoordinator which can be accessed from other views and therefore other views can trigger navigation. Example case we’ll build, is animating transitions from login view to main view and back. As said, AppFlowCoordinator stores the information about which view should be on-screen at a given moment. All the views are represented with an enum and based on the value in enum, views are created. This coordinator is ObservableObject what makes it easy to bind to a SwiftUI view – whenever activeFlow changes, SwiftUI view is updated. The term flow is used because views can consist of stack of other views and therefore creating a flow of views.

import SwiftUI
final class AppFlowCoordinator: ObservableObject {
@Published var activeFlow: Flow = .login
func showLoginView() {
withAnimation {
activeFlow = .login
}
}
func showMainView() {
withAnimation {
activeFlow = .main
}
}
}
extension AppFlowCoordinator {
enum Flow {
case login, main
}
}
Triggering navigation using flow controller.

RootView displaying active flow

RootView selects which view is currently visible. It accesses coordinator through environment. SwiftUI requires EnvironmentObjects to be ObservableObjects, therefore this view is automatically refreshed when activeFlow changes in the AppFlowCoordinator. RootView’s body is annotated with @ViewBuilder which will enable the view to return a body with type depending on the current state (HStack is also a ViewBuilder). Other options are wrapping the views with AnyView or using Group. In our case the view types are LoginView and ContentView. Both views also define the transition animation what is used when view refresh is triggered in withAnimation closure in AppFlowCoordinator. Asymmetric enables defining different transitions when view is added and removed from the view hierarchy.

let appFlowCoordinator = AppFlowCoordinator()
let rootView = RootView().environmentObject(appFlowCoordinator)
window.rootViewController = UIHostingController(rootView: rootView)
Inserting AppFlowCoordinator to environment
struct RootView: View {
@EnvironmentObject var appFlowCoordinator: AppFlowCoordinator
@ViewBuilder
var body: some View {
ZStack {
Color.black.edgesIgnoringSafeArea(.all)
if appFlowCoordinator.activeFlow == .main {
ContentView().transition(.asymmetric(insertion: .scale, removal: .opacity))
}
else if appFlowCoordinator.activeFlow == .login {
LoginView().transition(.asymmetric(insertion: .slide, removal: .opacity))
}
else {
EmptyView()
}
}
}
}
view raw RootView.swift hosted with ❤ by GitHub
Updating currently visible flow with transition animations

Triggering navigation from SwiftUI view

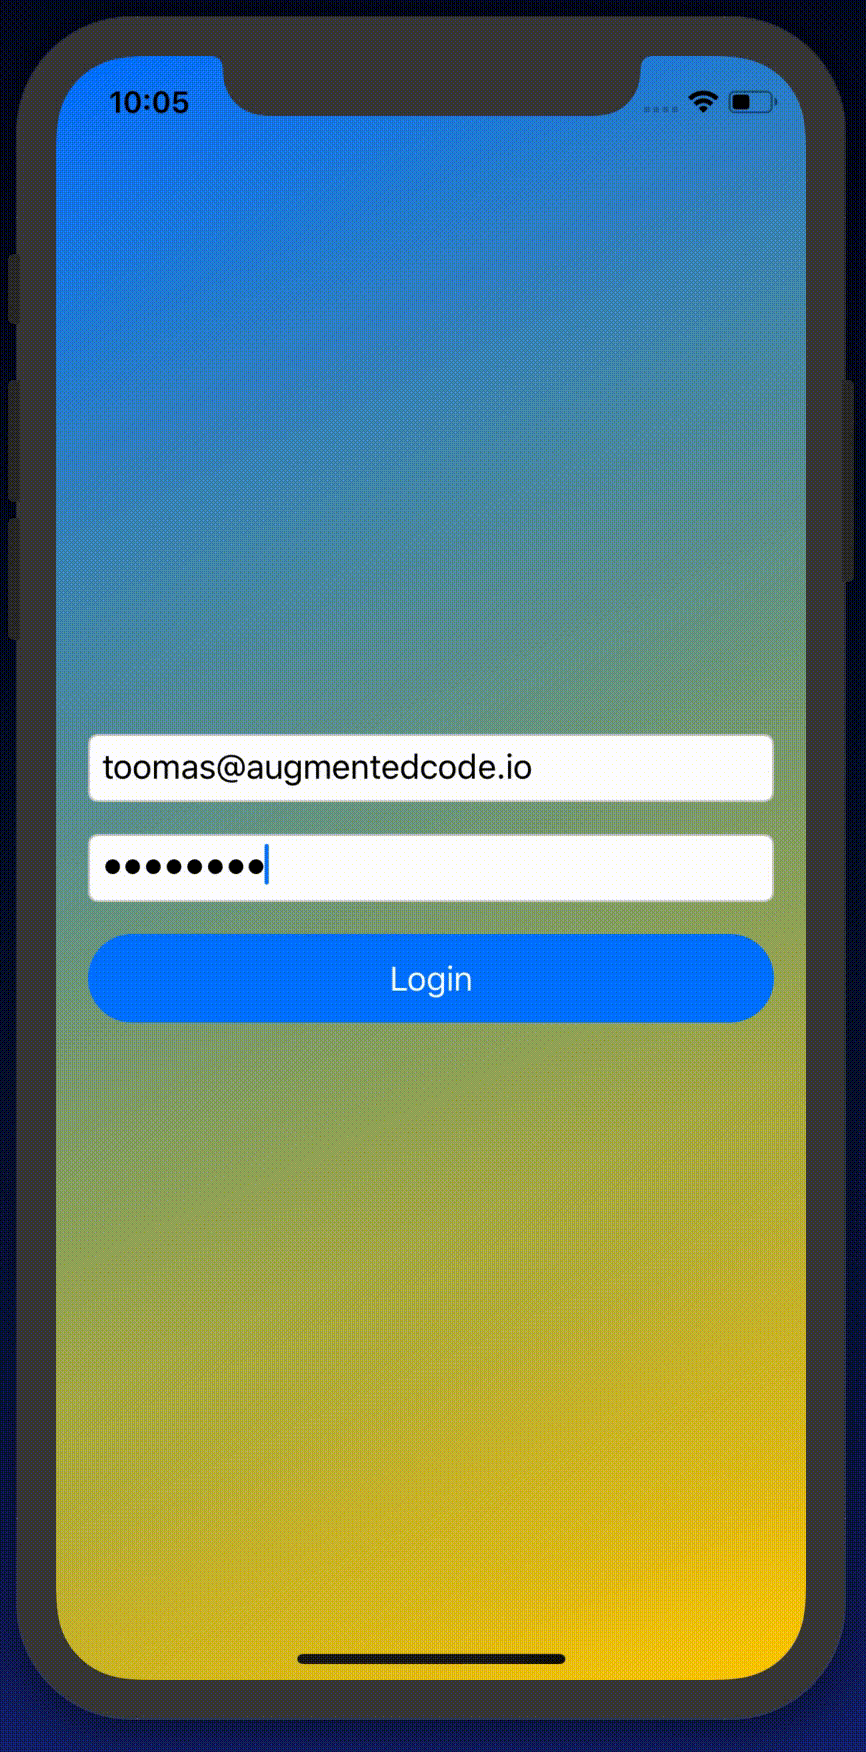
Last piece we need to take a look at is how to trigger transition. As AppFlowCoordinator is in environment, any view can access the coordinator and call any of the navigation methods. When login finishes, LoginView can tell the coordinator to show the main content view.

struct LoginView: View {
@EnvironmentObject var appFlowCoordinator: AppFlowCoordinator
var body: some View {
ZStack {
Button(action: appFlowCoordinator.showMainView) {
Text("Login")
}
}
}
}
view raw LoginView.swift hosted with ❤ by GitHub
Navigating to main view from login view

Summary

We took a look on how to navigate from one SwiftUI view to another by using a coordinator object. Coordinator stored the information about which view we should currently display on screen. We saw how easy it is to trigger navigation from any of the currently visible views.

transition animation
Low FPS GIF representing the transition animation

If this was helpful, please let me know on Mastodon@toomasvahter or Twitter @toomasvahter. Feel free to subscribe to RSS feed. Thank you for reading.

Example

RootViewTransitions Xcode 11.2.1, Swift 5.1

Categories
CoreAnimation iOS Swift UIKit

Custom non-interactive transition in iOS

In iOS view transitions can be interactive and non-interactive. In this post we are going to take a look on how to implement a custom non-interactive transition.

Setting up a custom transition

For setting up a custom non-interactive transition it is needed to create an animator object defining the transition and feeding it into UIKit. Before view controller is presented, we’ll need to change the UIModalPresentationStyle to custom, set delegate and with delegate method providing the custom animator to UIKit.

final class ViewController: UIViewController, UIViewControllerTransitioningDelegate {
@objc func showView() {
let presentedViewController = PresentedViewController()
presentedViewController.modalPresentationStyle = .custom
presentedViewController.transitioningDelegate = self
present(presentedViewController, animated: true, completion: nil)
}
private let transition = CustomTransition()
func animationController(forPresented presented: UIViewController, presenting: UIViewController, source: UIViewController) -> UIViewControllerAnimatedTransitioning? {
return transition
}
}

Custom animator

Custom animator object needs to conform to UIViewControllerContextTransitioning. It is required to implement a method defining the duration of the transition and method performing the transition. UIKit calls those methods and provides a UIViewControllerContextTransitioning object what gives contextual information about the transition (e.g. view controllers related to the transition). It is important to check isAnimated property for seeing if the transition should be animated at all. Secondly, it is required to call completeTransition() when transition has finished.
Let’s take a look on an example implementation of custom transition. In this particular case Core Animation is used for implementing animations. Several animations run in an animation group, and when it finishes, completeTransition() is called. Core Animation is used because of the need to rotate the presented view which is easy to do with CABasicAnimation. Just for keeping in mind that most of the simpler animations might be easier just to implement with UIView’s animate(withDuration:delay:options:animations:completion:).

final class CustomTransition: NSObject, CAAnimationDelegate, UIViewControllerAnimatedTransitioning {
func transitionDuration(using transitionContext: UIViewControllerContextTransitioning?) -> TimeInterval {
return 1.0
}
func animateTransition(using transitionContext: UIViewControllerContextTransitioning) {
guard let toViewController = transitionContext.viewController(forKey: .to) else { return }
transitionContext.containerView.addSubview(toViewController.view)
if transitionContext.isAnimated {
toViewController.view.frame = transitionContext.finalFrame(for: toViewController)
let opacity: CABasicAnimation = {
let animation = CABasicAnimation(keyPath: "opacity")
animation.duration = transitionDuration(using: transitionContext)
animation.fromValue = 0.0
animation.timingFunction = CAMediaTimingFunction(name: .easeIn)
animation.toValue = 1.0
return animation
}()
let rotation: CABasicAnimation = {
let animation = CABasicAnimation(keyPath: "transform.rotation")
animation.duration = transitionDuration(using: transitionContext)
animation.fromValue = 0.0
animation.toValue = 2.0 * 2.0 * Double.pi
animation.timingFunction = CAMediaTimingFunction(name: .easeIn)
return animation
}()
let scale: CABasicAnimation = {
let animation = CABasicAnimation(keyPath: "transform.scale")
animation.duration = transitionDuration(using: transitionContext)
animation.fromValue = 0.1
animation.toValue = 1.0
animation.timingFunction = CAMediaTimingFunction(name: .easeInEaseOut)
return animation
}()
let group: CAAnimationGroup = {
let group = CAAnimationGroup()
group.animations = [opacity, rotation, scale]
group.delegate = self
group.duration = transitionDuration(using: transitionContext)
return group
}()
self.transitionContext = transitionContext
toViewController.view.layer.add(group, forKey: "rotateScaleGroup")
}
else {
toViewController.view.frame = transitionContext.finalFrame(for: toViewController)
transitionContext.completeTransition(true)
}
}
private var transitionContext: UIViewControllerContextTransitioning? = nil
func animationDidStop(_ animation: CAAnimation, finished isFinished: Bool) {
transitionContext?.completeTransition(isFinished)
transitionContext = nil
}
}

Here is the end result.
CustomViewTransitionExample

Summary

In this blog post we took a look on how to use custom transitions when presenting a view controller. It was a matter of setting presentation style to custom and creating and providing an animator object to UIKit using a delegate.

Playground

CustomViewTransition (GitHub) Xcode 10, Swift 4.2

References

UIViewControllerContextTransitioning (Apple)